What to Teach Before Letters: 5 Play Activities at Home

Letters can wait. Let's play with lines first!
- 5 to 10 minutes each
- Things from home
- Indoors or outdoors
- Pre-writing skills
What to teach before letters? Lines. Before a child writes an A or a B, their hands and arms need to be able to draw a straight line, a zigzag, a wave and a circle, because every letter is made from those strokes. The five play activities below build exactly that, with no pencil and no worksheet.
In my classroom, the children who were keen to write their names early were often the ones who found the pencil hardest. Their fingers wanted to write, but their shoulders and hands hadn't had enough big, messy practice yet. When we went back to chalk, dough and tongs for a few weeks, the pencil work that followed was calmer and neater.
So there is no need to rush into ABCD. Pick one activity a day, let your child lead, and keep it playful. If you would like the full picture of how pre-writing develops, our guide to pre-writing strokes in order shows which line comes when.
What you need
- Chalk and a floor, terrace or pavement
- Play dough in a few colours
- A tray, a cup of table salt and a soft brush
- Kitchen tongs, pom-poms and an ice tray
- A sheet of paper, a marker and round dot stickers
5 play activities to try before letters
Start at the top and work down, or let your child pick. Tick off each one you have tried.
0 of 5 done
Start big. Draw long straight lines, zigzags and spirals on the floor or terrace, then let your child walk along them or draw their own. Big movements come before small ones, so this warms up the shoulder and arm.

Roll play dough into long snakes, then bend them into a straight line, a wavy line and a circle. The rolling and squeezing build hand strength, and the shapes are the same ones your child will later draw.

Pour a thin layer of salt into a tray. Your child traces waves and zigzags with one finger, then you shake the tray smooth and they go again. They feel each stroke without worrying about getting it wrong.

Give your child kitchen tongs and let them move pom-poms from a bowl into the sections of an ice tray. Squeezing the tongs works the same small muscles the fingers use to hold a pencil.

Draw a long curvy line on paper and let your child stick dots along it from the start to the end. Following the line from left to right is the same eye movement they will use when reading and writing.

You earned a sticker!
All five tried! Which one did your child ask for again?
- Pom-poms, dot stickers and play dough are choking hazards for children who still mouth things. Stay close.
- Salt can sting eyes and cuts, so keep it in the tray and wash hands afterwards.
- Play dough is not food. Offer a drink and a snack separately if your child gets curious.
Why do lines come before letters?
A letter is just a few strokes put together. A, for instance, needs two slants and a short line across. If a child hasn't practised those strokes in play, they have to work out the stroke and the letter at the same time, and that is when pencils get gripped too tightly and frustration starts.
Strong shoulders, strong hands, then pencil
Chalk on the floor builds shoulder and arm control. Dough builds hand strength. The salt tray lets children feel each stroke without the pressure of paper. Tongs build the pinching muscles used for holding a pencil, and sticker paths practise following a line from left to right. Each activity covers a different part of writing readiness, so together they give your child a solid base for letters.
How do I know my child is ready for a pencil?
There is no single test, but these are good signs: your child can draw a straight line and a circle in chalk or sand, squeezes tongs or pegs without tiring, and sits happily with a short activity. If a pencil still feels hard, go back to the big, sensory activities for another week or two. It is never wasted time. If gripping is the sticking point, our guide to activities that help with pencil grip development has more hand-strengthening ideas, and why your child won't hold a pencil looks at the common reasons.
Make these activities easier or harder
Change the setup to suit your child
Little ones
- Chalk one thick, straight line and let them walk it like a bridge before they draw.
- Use big, soft dough and roll it together with them.
- Swap the tongs for a big spoon or their fingers.
- Use large stickers and a short, gentle curve.
Older kids
- Chalk a maze of zigzags and loops for them to follow with a toy car.
- Ask them to make dough shapes to copy from a card: a line, a wave, a spiral.
- Try tweezers or small tongs, and sort the pom-poms by colour.
- Draw a path with sharp turns and ask them to place stickers closer together.
Can't choose? Spin for today's activity
Let your child spin, and set up whatever the wheel picks.
Press Spin and see where it lands!
All 6 ideas
- Big chalk lines
- Dough snakes
- Salt tray
- Tong transfer
- Sticker paths
- Your child picks
When your child is ready for pencil and paper
When the play activities feel easy, move to paper one page at a time. Our Pattern Writing pack builds pre-writing skills in a friendly order: standing lines, slants, zigzags, waves and loops. Each page has a picture to finish, like the sea waves page, so your child traces with a purpose. You can browse more on our pattern writing worksheets page.

The Waves page from our Pattern Writing pack: trace curved lines to make waves in the sea.
If your child is happy tracing but has trouble following dotted lines, this guide to tracing dotted lines can help. For more art-based ideas, see creative art activities that build pre-writing skills.
Questions about starting before letters
What should I teach my child before letters?
Is it bad to teach ABC early?
How long should each activity last?
What if my child doesn't like drawing?
Which activity should we start with?
How do I know when to move to a pencil?
Written by
Hemsweta Jain · Teacher Cheena
MBA and Early Childhood Educator, teaching since 2014 · Founder of RaisoActive, Mumbai
Published · Last reviewed
Related posts
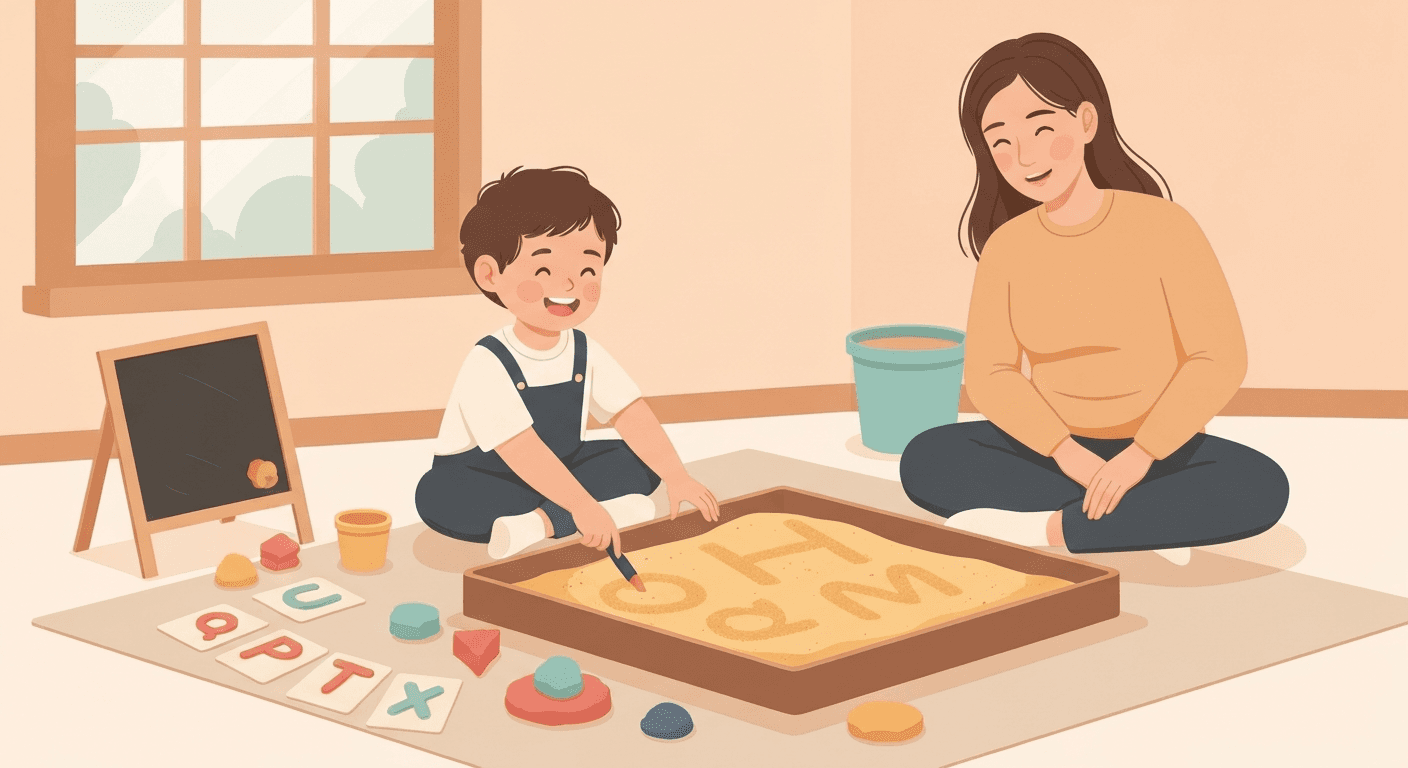
Sensory Processing Issues: Creative Alternatives to Traditional Worksheets
Creative, sensory-friendly alternatives to traditional worksheets for children with tactile defensiveness, proprioceptive seeking, and auditory sensitivity. Indian context included.
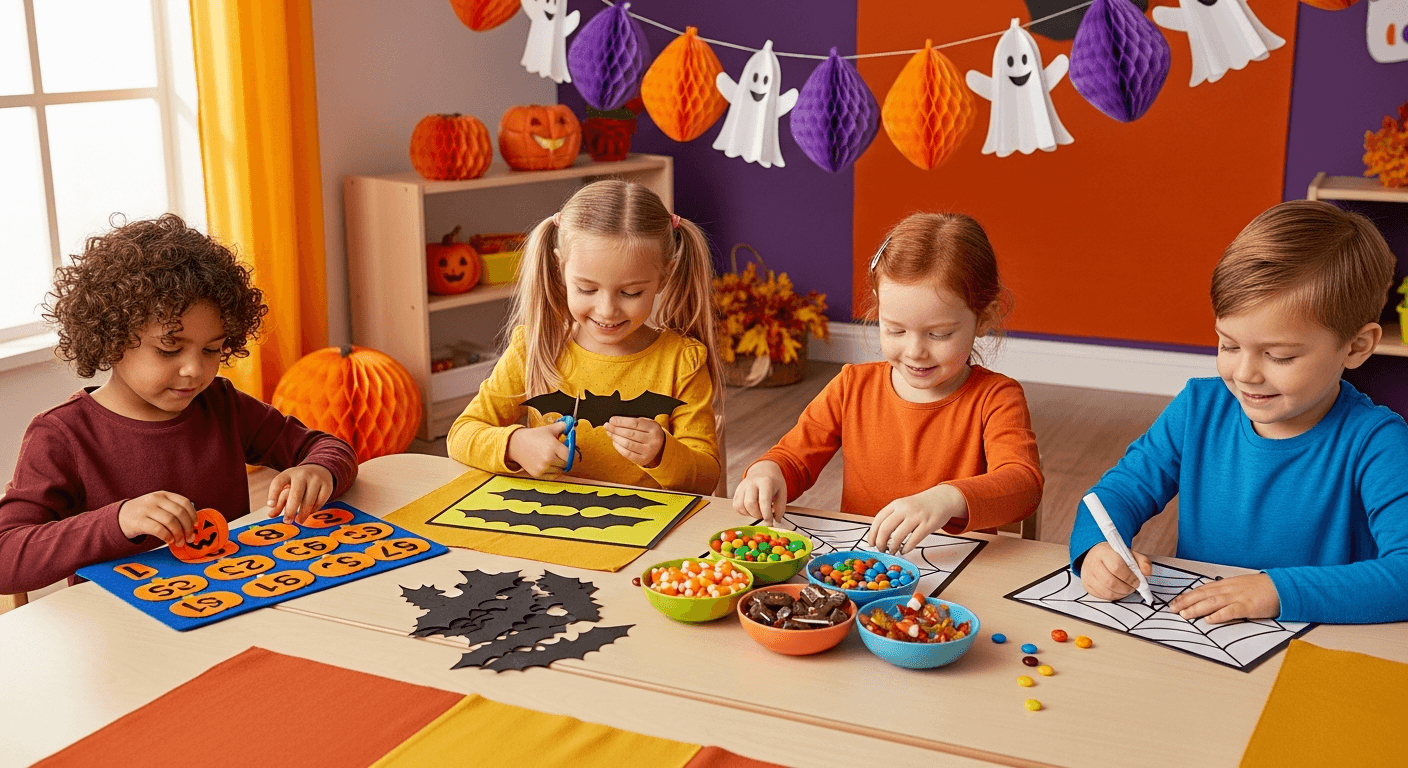
Age-Appropriate Halloween Learning Activities: Balancing Spooks and Skills for Young Learners
Discover fun, age-appropriate Halloween learning activities for young children. Spooky crafts, counting games, literacy ideas, and printable worksheets for ages 2 to 8.
Documenting Learning Without Drowning in Data: A Practical Guide for Parents and Teachers
Learn practical ways to document your child's learning without overwhelm. Simple portfolios, observation tips, and printable trackers for ages 1-8.