My Child Can't Trace Dotted Lines — What Activities Can Help? A Complete Guide to Pre-Writing Skills
Author
RaisoActive - Kids Activities and Fun Learning
Published
Updated
Reading Time
17 min read

- Tracing dotted lines requires visual-motor integration, hand strength, and pencil control — skills that develop gradually between ages 3 and 6
- Many children who struggle to trace are missing prerequisite skills like finger isolation, hand strength, or the ability to track a visual path — tracing is the end product, not the starting point
- Before pencil-on-paper tracing, children benefit enormously from finger tracing, large arm movements, sand drawing, and chalk on pavements
- The best tracing progression goes from large to small, from 3D to 2D, from finger to tool — rushing this sequence makes tracing harder, not easier
- Indian school systems often introduce dotted-line copying well before children are developmentally ready; knowing this lets you support your child without panic
When Tracing Doesn't Come Naturally — And Why That's More Common Than You Think
You hand your child a worksheet with cheerful dotted lines and expect them to trace the path confidently. Instead, they veer off immediately, press too hard and tear the paper, refuse to try after two seconds, or produce a wobbly line that barely resembles the original shape. You wonder: is this normal? Are other children doing this easily? Is something wrong?
Here is what most parents are not told: tracing a dotted line is not a simple task. It requires the brain to do something called visual-motor integration — simultaneously processing what the eyes see (the dotted path) and coordinating a precise physical response (the hand moving a pencil along that path). This is a sophisticated neurological skill, and it is built gradually through months and years of physical experience — not from sitting with a worksheet.
If your child is struggling with tracing, they are not being lazy or careless. In most cases, they are missing one or more of the foundational skills that tracing depends on — and the wonderful news is that these skills are built through play, movement, and the right activities. This guide will walk you through exactly what those are.
What Is Visual-Motor Integration — And Why Does It Make Tracing Hard?
Visual-motor integration (VMI) is the ability to coordinate what you see with what your hands do. When a child traces a dotted line, their eyes must scan ahead along the path, their brain must interpret that path and translate it into a motor plan, and their hand must execute that plan in real time — all simultaneously. For adults, this happens automatically. For young children, each of these steps is still being wired together.
VMI develops alongside general physical development. Children who have had lots of large-muscle (gross motor) experience — climbing, crawling, balancing — tend to develop VMI faster because the brain learns spatial awareness through the body before it learns it through the fingers. Children who go straight to fine motor tasks without enough gross motor experience often find tracing and drawing particularly difficult.
Visual-motor integration is the hidden skill behind tracing. It cannot be taught directly — it must be built through a progression of physical experiences, from large whole-body movements down to small fingertip control.
Research from occupational therapy consistently shows that children who struggle with tracing often have strong verbal and cognitive skills but lagging sensory-motor experience. The gap is almost always bridgeable through targeted activities.
The Three Skills That Must Come Before Pencil Tracing
If you watch a child who is ready to trace versus one who is not, the difference is rarely in intelligence or effort. It is in three specific skill areas that must develop before the pencil meets the paper.
1. Hand Strength and Endurance
Holding a pencil lightly and moving it with control requires the small muscles of the hand and fingers to be both strong and coordinated. A child whose hand muscles are underdeveloped will grip the pencil too tightly (causing fatigue and pressure), or too loosely (causing the pencil to slip and the line to wobble). Tracing practice will not build this strength — only hands-on physical play will.
2. Eye Tracking and Visual Path Following
Before a child can follow a dotted line with a pencil, they need to be able to follow it with their eyes. This skill — called smooth visual tracking — is the same one used when reading, catching a ball, or watching a moving object. Many children who struggle with tracing have not yet developed smooth, controlled eye movement. Their eyes jump or skip, which means their hand follows an inaccurate mental picture of the path.
3. Midline Crossing
The body's midline is an imaginary vertical line running down the centre of the body. Crossing the midline — reaching with one hand to the opposite side of the body — is a neurological milestone that enables smooth, continuous strokes across a page. Children who have not yet achieved midline crossing will often switch hands mid-stroke, stop at the centre of the page, or rotate their paper so they never have to cross it. Activities like large arm painting, crawling, and reaching across the body help establish this connection.
Occupational therapy screening studies consistently find that a significant proportion of young children entering formal schooling have not yet developed the visual-motor foundation needed for tracing and pre-writing tasks. In most cases, this is a developmental timing difference rather than a disorder, and it responds well to targeted play-based activities.
Source: Journal of Occupational Therapy, Schools & Early Intervention
Activities Before Pencil Tracing: The Foundation Layer
The biggest mistake parents and teachers make with tracing is going straight to the worksheet. Pencil-on-paper tracing is the final step in a long developmental progression — not the beginning of it. Here are the activities that should come first, roughly in order of developmental readiness.
Finger Tracing on Textured Surfaces
Before any tool touches paper, children need to experience tracing with their finger on textured, 3D surfaces. Draw dotted lines on sandpaper, corrugated card, or felt, and ask your child to trace them with their index finger. The texture provides sensory feedback that helps the brain map the path more accurately. In Indian homes, sand trays (a shallow tray with fine sand or atta spread thinly) are an excellent and free alternative — draw a dotted line in the sand with your finger and ask the child to follow it.
Large Arm Movements: Painting and Chalk Tracing
Large arm movements train the shoulder and elbow joints that must be stable before fine control becomes possible. Tape a large piece of paper to a wall or easel at shoulder height and draw big dotted paths — curving lines, zigzags, spirals — for your child to trace with a fat paintbrush. Alternatively, draw dotted lines with chalk on the floor of your balcony or terrace and let your child trace them walking, then with their hands and knees, and finally with chalk in hand. The shift from whole-body to hand-only is the direction of all fine motor development.
Finger Painting Along Paths
Finger painting combines the sensory richness of touch with the visual tracking of a path. Draw dotted lines on paper and let the child trail their index finger through paint to follow the path. This removes the pencil-holding challenge entirely and isolates the visual tracking and motor planning skills. Once the child can follow a variety of paths confidently with their finger, the step to a pencil becomes much smaller.
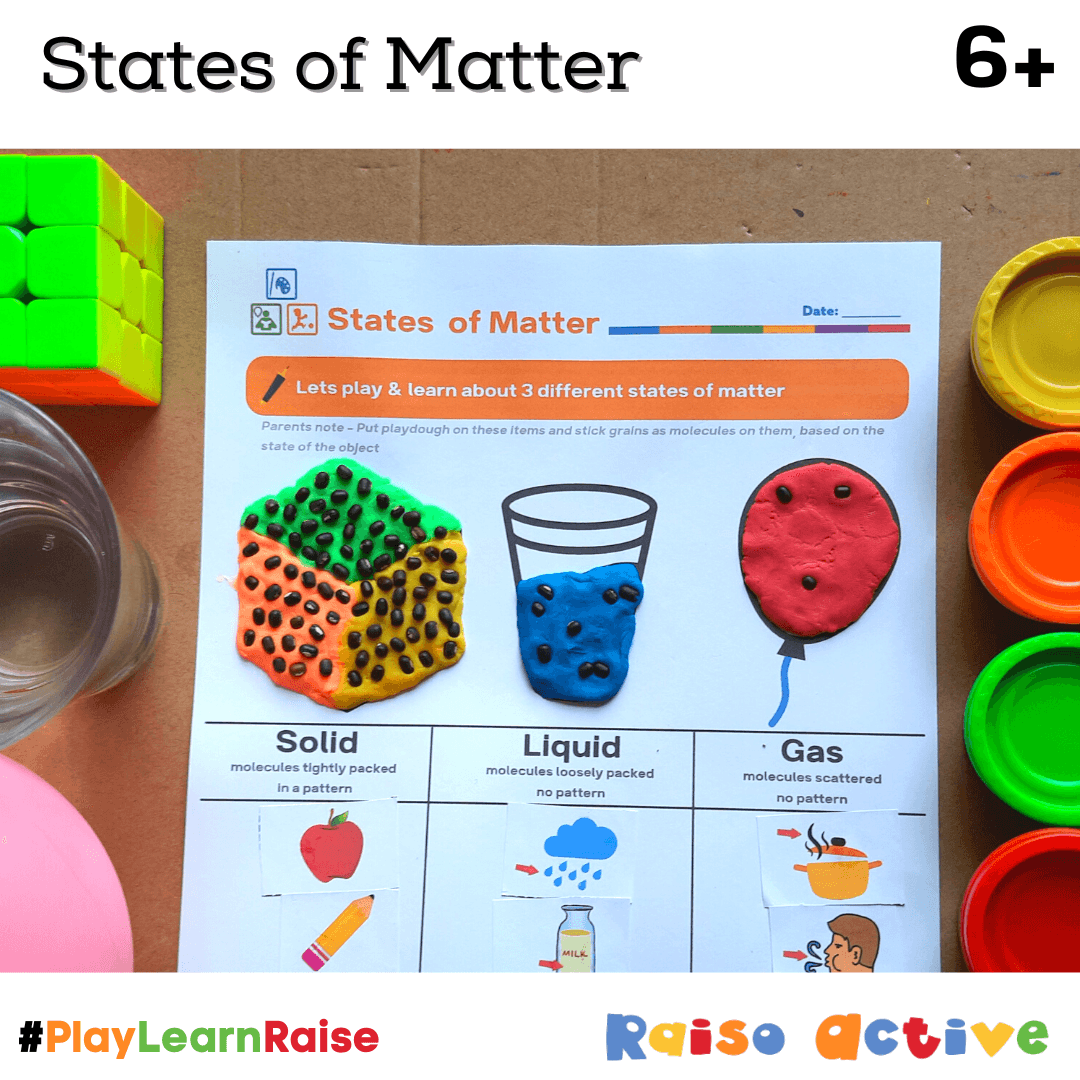
Playdough Snake Tracing
Roll a thin rope of playdough and lay it along a dotted line printed on a sheet. Ask the child to press the playdough rope onto the dotted path. This task requires visual tracking and spatial planning but uses the whole hand rather than a pencil tip — making it far more achievable for children who are not yet pencil-ready. As the child succeeds consistently, the same action with a marker or thick crayon becomes natural.
- **Sand tray tracing** — Spread fine sand or atta in a shallow tray, draw a dotted path, and invite your child to follow it with one finger
- **Chalk path walking** — Draw a curved or zigzag line with chalk on the floor and have your child walk along it, then hop it, then trace it with a finger
- **Wet sponge tracing** — Draw dotted lines on the balcony floor or garden wall and let your child trace them using a wet sponge
- **Glue trail following** — Use a squeeze bottle of white glue to draw a dotted line; ask the child to press coloured lentils or sesame seeds along the line
- **Finger painting paths** — Draw dotted curves or straight lines on paper and let the child trail one finger through non-toxic paint to follow them
- **Playdough on dotted lines** — Roll thin playdough ropes and lay them along printed dotted lines as a 3D tracing warm-up
The Right Progression: From Large to Small, From 3D to 2D
One of the most important principles in occupational therapy for pre-writing is the macro-to-micro progression. All fine motor skills develop from large (gross) movements to small (fine) ones. A child who cannot yet trace a dotted line with a pencil should be working on large versions of the same task first — and gradually working smaller.
The Tracing Readiness Progression
Step 1: Whole-Body Path Following
Begin with the whole body. Draw a curving chalk line on the floor and have the child walk along it carefully, trying to keep their feet on the line. Add a zigzag, a spiral, a wavy line. This develops visual tracking, body awareness, and path-following concepts without any hand coordination demand.
Step 2: Large Arm Tracing (Wall or Easel)
Move to shoulder-height tracing on a vertical surface. Tape paper to a wall and draw large dotted paths (at least 30cm long). The child traces with a thick paintbrush or large crayon, using the whole arm. Vertical surfaces develop shoulder stability and wrist extension, which are foundational for tabletop writing.
Step 3: Finger Tracing on Textured Surfaces
Now move to tabletop work — but still without any tool. The child traces paths using just their index finger on sandpaper, a sand tray, or a textured mat. This develops the visual-motor connection between eye and fingertip without the additional challenge of managing a tool.
Step 4: 3D Tool Tracing (Playdough, Sponge)
Introduce a simple tool that is easy to control: a damp sponge, a thick foam brush, or a playdough rope. The child uses these to follow dotted paths on paper or a whiteboard. The forgiving nature of these tools removes the pressure of a precise line.
Step 5: Thick Crayon or Marker on Large Dotted Lines
Now the child is ready for paper tracing — but start with thick crayons or washable markers (not pencils) on large dotted lines (dots spaced at least 2–3cm apart). Lines should be 20–30cm long. Acceptable shapes at this stage: horizontal lines, vertical lines, gentle curves.
Step 6: Standard Pencil on Progressively Smaller Dotted Paths
Once the child can trace large paths consistently with a crayon, introduce a pencil with dots spaced 1–2cm apart. Gradually reduce dot spacing and line size. Only move to letter-sized tracing worksheets once the child is succeeding at this stage without frustration. This is typically achievable between ages 4.5 and 5.5.
Types of Tracing Worksheets — Ordered by Difficulty
Not all dotted-line worksheets are equally challenging. When parents give a child a worksheet that is too advanced, the child struggles and may develop a negative association with the task. Matching the worksheet type to the child's current readiness level makes a significant difference.
- +Straight horizontal lines (long, widely spaced dots)
- +Straight vertical lines (top to bottom)
- +Diagonal lines and simple crosses
- +Gentle curves and arcs
- +Zigzag paths
- +Spirals and loops
- +Simple geometric shapes (square, triangle, circle)
- +Dotted letter and number tracing
- +Connect-the-dots pictures
- -Ages 3–3.5: the easiest possible entry point
- -Ages 3.5–4: vertical control develops slightly later than horizontal
- -Ages 4–4.5: requires wrist rotation and directional switching
- -Ages 4–4.5: requires smooth eye tracking and fluid hand movement
- -Ages 4.5–5: requires controlled directional changes
- -Ages 4.5–5: requires sustained visual tracking through complex paths
- -Ages 5–5.5: combines multiple stroke types; a major milestone
- -Ages 5.5–6: only after shapes are mastered; combines path and recall
- -Ages 5–6: requires number sequencing alongside tracing; cognitively demanding
If your child is 4 years old and struggling with letter tracing, it is almost certainly a sequencing problem rather than a capability problem. Start with long horizontal lines — succeed there first — then move down the list. Each step makes the next one easier.
Match the worksheet difficulty to where the child actually is, not where the school expects them to be. A child who masters straight lines before curves will trace letters far more successfully than one pushed to letters too soon.
Building Hand Strength Specifically for Tracing
Tracing requires a very specific kind of hand strength: the ability to exert light, controlled, sustained pressure over a moving path. This is different from the squeezing strength needed to open jars or the pinching strength needed to pick up small objects. It is built through activities that require the hand to maintain consistent contact while moving.
- **Crayon rubbings** — Place a textured object (leaf, coin, comb) under paper and rub a crayon over it; the child must maintain consistent pressure while moving
- **Wet chalk on dry paper** — Dipping chalk in water and drawing requires controlled pressure or the chalk breaks
- **Marbling with a stick** — Swirling paint on water with a thin stick, then lifting paper off the surface, builds sustained precision grip
- **Rolling tiny playdough balls** — Between thumb and index finger, one at a time; directly trains the tripod grip muscles
- **Peeling stickers** — Each sticker peel demands precise fingertip control similar to pencil management
- **Finger mazes** — Print simple finger-maze sheets and have the child navigate them with their index finger before attempting with a pencil
Occupational therapy intervention studies using vertical surface activities — chalk on walls, easel painting, whiteboard drawing — consistently show faster pre-writing progress compared to children practising solely at a tabletop. The vertical position develops shoulder stability and wrist extension critical for controlled pencil movement.
Source: American Journal of Occupational Therapy
Tracing in the Indian School Context: What Parents Are Up Against
In many Indian preschools and LKG classrooms, children are given dotted-line copy books from their very first term — sometimes as young as 3 years. Four-lined notebooks appear in UKG. Handwriting marks appear on report cards. Parents receive notes if the child's tracing is messy or if they cannot stay within the lines.
This creates real pressure. You may feel that if your child cannot trace neatly, they are already falling behind their classmates. But it is worth knowing that internationally, formal writing instruction — including structured tracing — is not recommended before age 5, and ideally 5.5 to 6. Countries with some of the strongest literacy outcomes (Finland, for example) do not begin formal writing until age 7. The pressure Indian children face is not developmentally driven — it is curriculum-driven.
This does not mean ignoring the school's expectations. It means being strategic: complete the school's copying work in short bursts (5 minutes maximum for a 3–4 year old), and spend a much larger portion of your child's learning time on the foundation activities described in this guide. The foundation activities will pay off faster — and more durably — than more copying practice.
The solution to 'can't trace dotted lines' is almost never more tracing worksheets. It is building the underlying skills — visual tracking, hand strength, finger isolation — through play-based activities, then returning to the worksheet with a properly prepared hand and eye.
Most children who are given the right foundation activities and allowed to develop at their own pace will be tracing confidently within 4–8 weeks.
When Tracing Difficulty Might Signal Something More
The vast majority of children who struggle with tracing are simply developmentally early — they are not yet at the stage where the skill is achievable. But in a smaller number of cases, persistent difficulty with tracing may be one sign among several of a condition worth assessing.
- Your child is 5.5 or older and cannot yet trace a straight horizontal line with a crayon despite several months of practice and varied activities
- The child shows significant difficulty with hand strength tasks in general: cannot use scissors, struggles to open containers, avoids all drawing and colouring
- You notice that one hand is noticeably more coordinated than the other after age 4
- The child frequently complains of hand or wrist pain or discomfort during drawing or writing activities
- Difficulty with tracing accompanies other concerns: delayed speech, difficulty with balance, sensitivity to touch or textures, or significant attention challenges
- The child's eyes appear to move jerkily or they frequently lose their place — this may indicate a vision or tracking issue worth checking with a developmental optometrist
If you are seeing several of these signs together, a paediatric occupational therapist is the right first point of contact. In Indian cities, OTs are available through children's hospitals, developmental paediatric clinics, and private practices. Many now offer tele-assessments. An OT will assess your child's visual-motor integration, hand strength, and sensory processing holistically — and give you a targeted home programme.
Frequently Asked Questions
My child is 4 years old and cannot stay on the dotted line at all. Is this normal?
Should I keep asking my child to redo the tracing if it comes out messy?
What is the best pencil or crayon to use when starting tracing?
My child can trace straight lines but struggles with curves. What should I focus on?
The school is sending home dotted-line copying homework but my child can't do it. What do I tell the teacher?
My child's hand shakes or trembles when they try to trace. Should I be worried?
Free worksheets for this topic
Browse all worksheets
Pumpkin Lines Dice Game: Halloween Pre-Writing Worksheet
Ages 4-8 · Pre-K–Grade 2Ages 4-8 · Reception–Year 3Ages 4-8 · LKG–Class 2Ages 4-8
Children practise wavy, zigzag and looped pre-writing lines while playing a simple dice game.
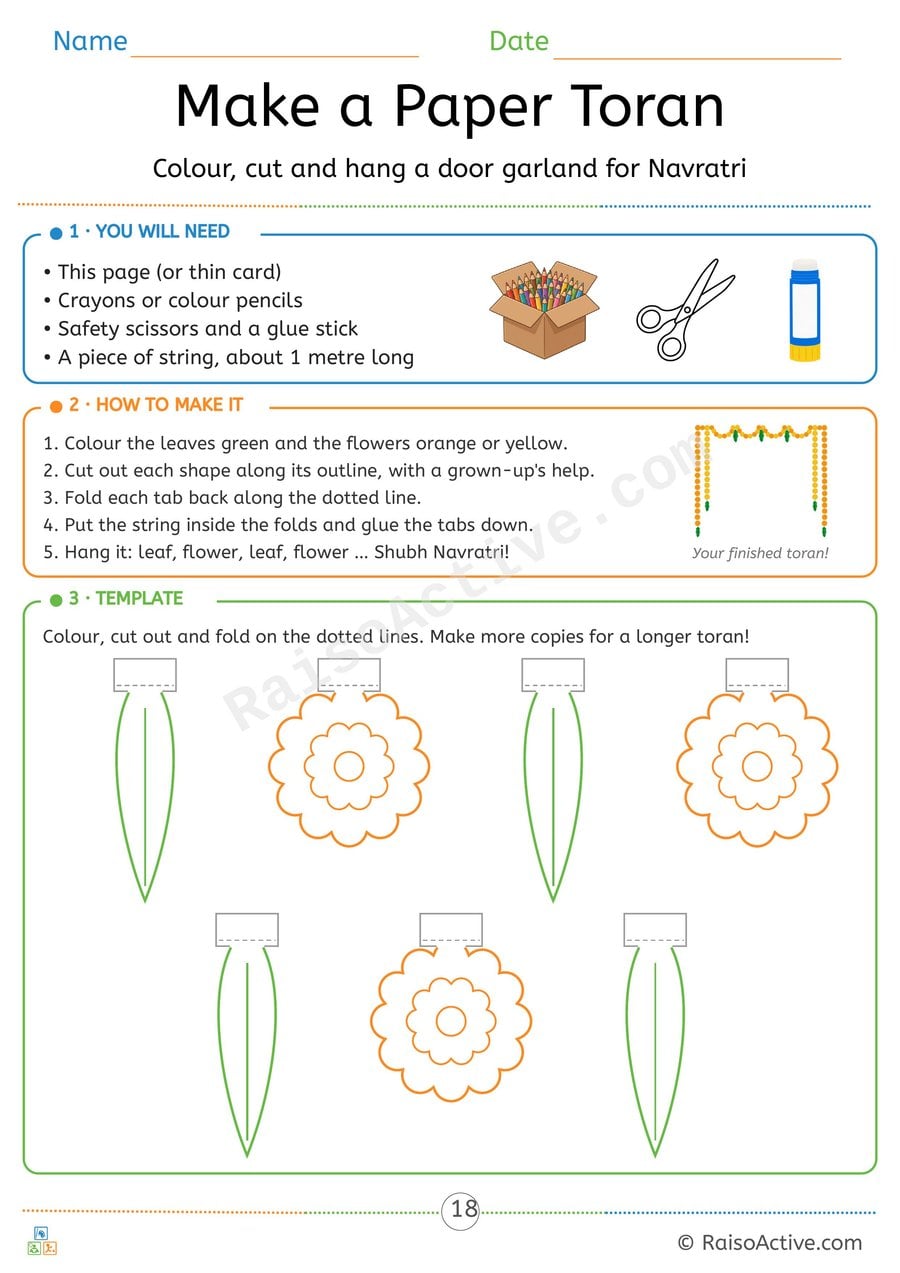
Make a Paper Toran: Navratri Craft Template
Ages 4-6 · Pre-K–KindergartenAges 4-6 · Reception–Year 1Ages 4-6 · LKG–UKGAges 4-6
Children follow step-by-step instructions to colour, cut, fold and glue a festival decoration, building scissor skills and fine motor control.

Navratri Rangoli Colour by Number and Symmetry Diya
Ages 4-6 · Pre-K–KindergartenAges 4-6 · Reception–Year 1Ages 4-6 · LKG–UKGAges 4-6
Children match numbers to colours using a key, colour a rangoli pattern carefully and draw the other half of a shape so both sides match.

Navratri Nine Colours Colouring Page: Colour the Garba Dancers
Ages 4-6 · Pre-K–KindergartenAges 4-6 · Reception–Year 1Ages 4-6 · LKG–UKGAges 4-6
Children learn the colour linked with each of the nine days of Navratri 2026 and practise colouring inside the lines.
Written by
Hemsweta Jain · Teacher Cheena
MBA and Early Childhood Educator, teaching since 2014 · Founder of RaisoActive, Mumbai
Published · Last reviewed
Related Resources
Printable Resources(10)
View all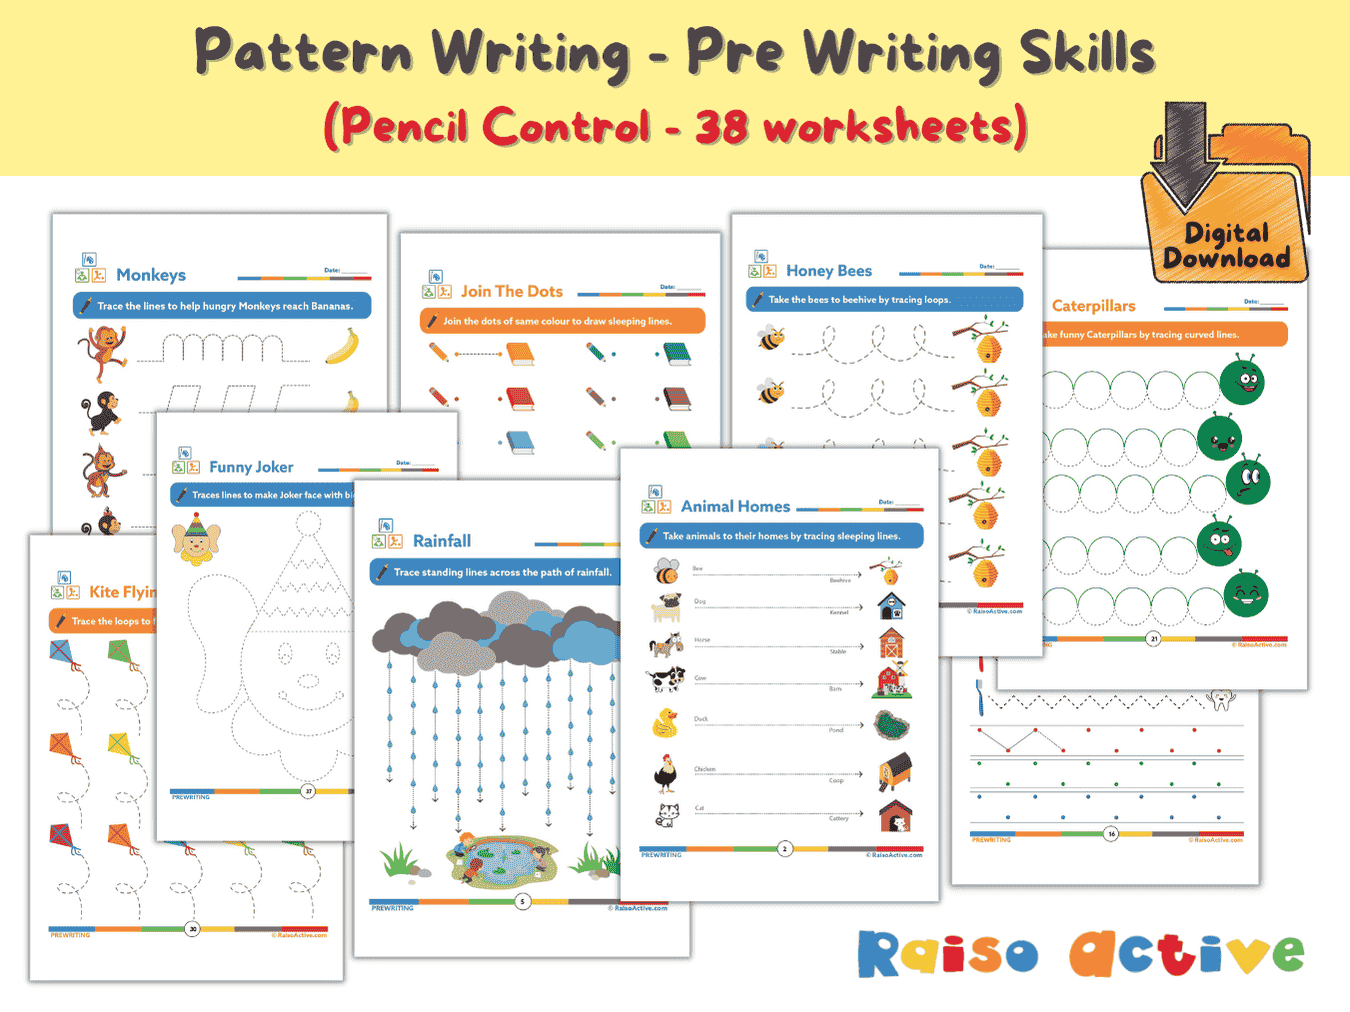

Pattern Writing Pre-writing Skills Activity Book for 3-4 Year Olds
Ages 3-4 · PreschoolAges 3-4 · NurseryAges 3-4 · 44 pages
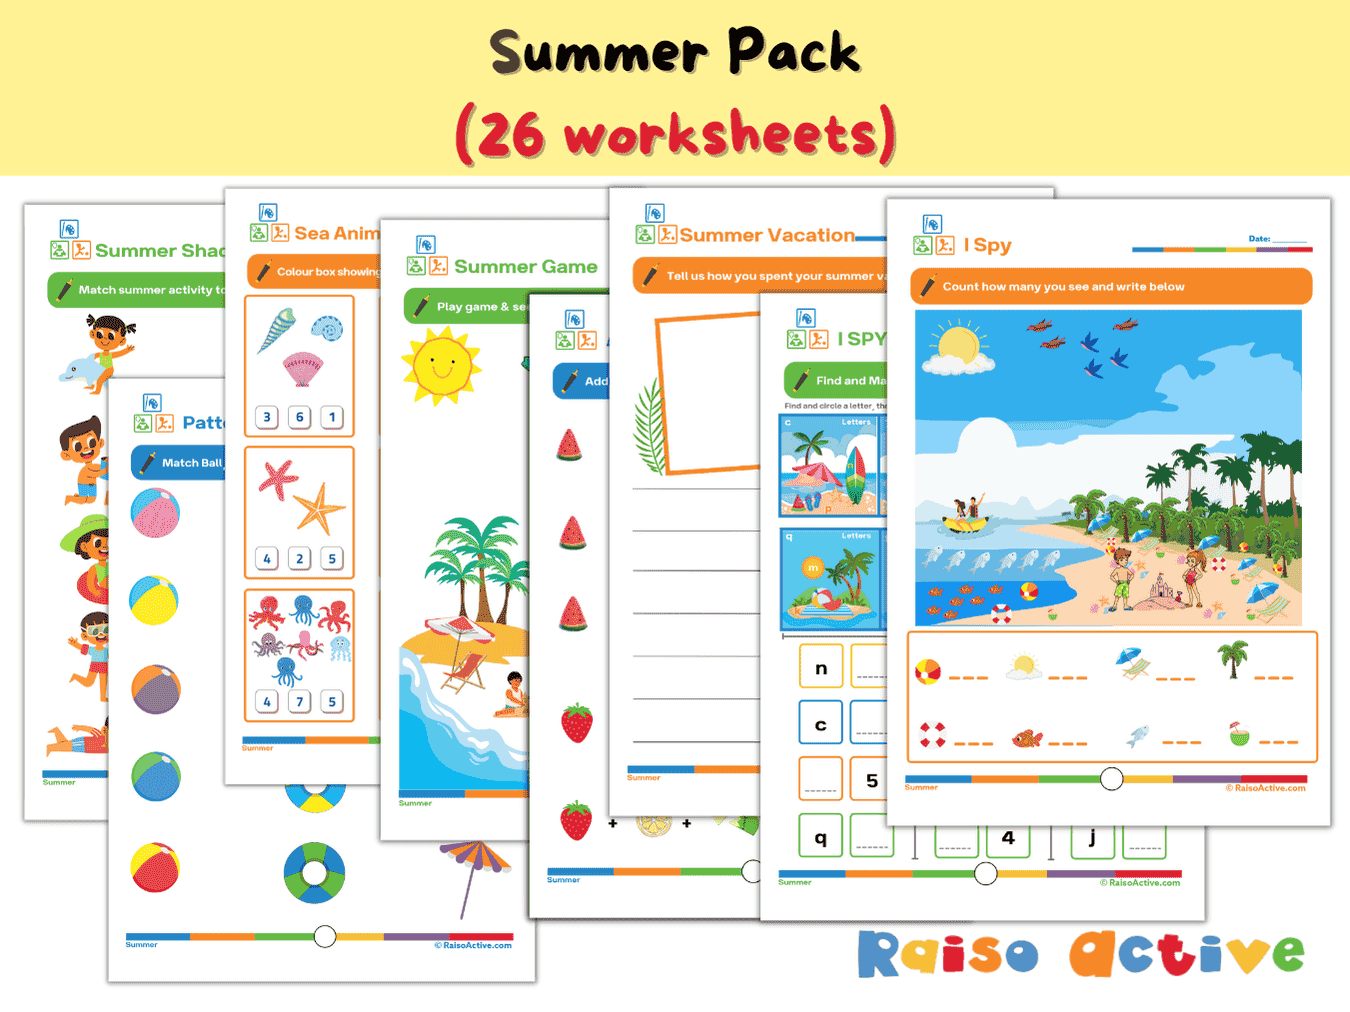

Summer Activity Pack: Math, Literacy, Puzzles & More for Preschool & Kindergarten
Ages 3-7 · Preschool–Grade 1Ages 3-7 · Nursery–Year 2Ages 3-7 · Nursery–Class 1Ages 3-7 · 26 pages
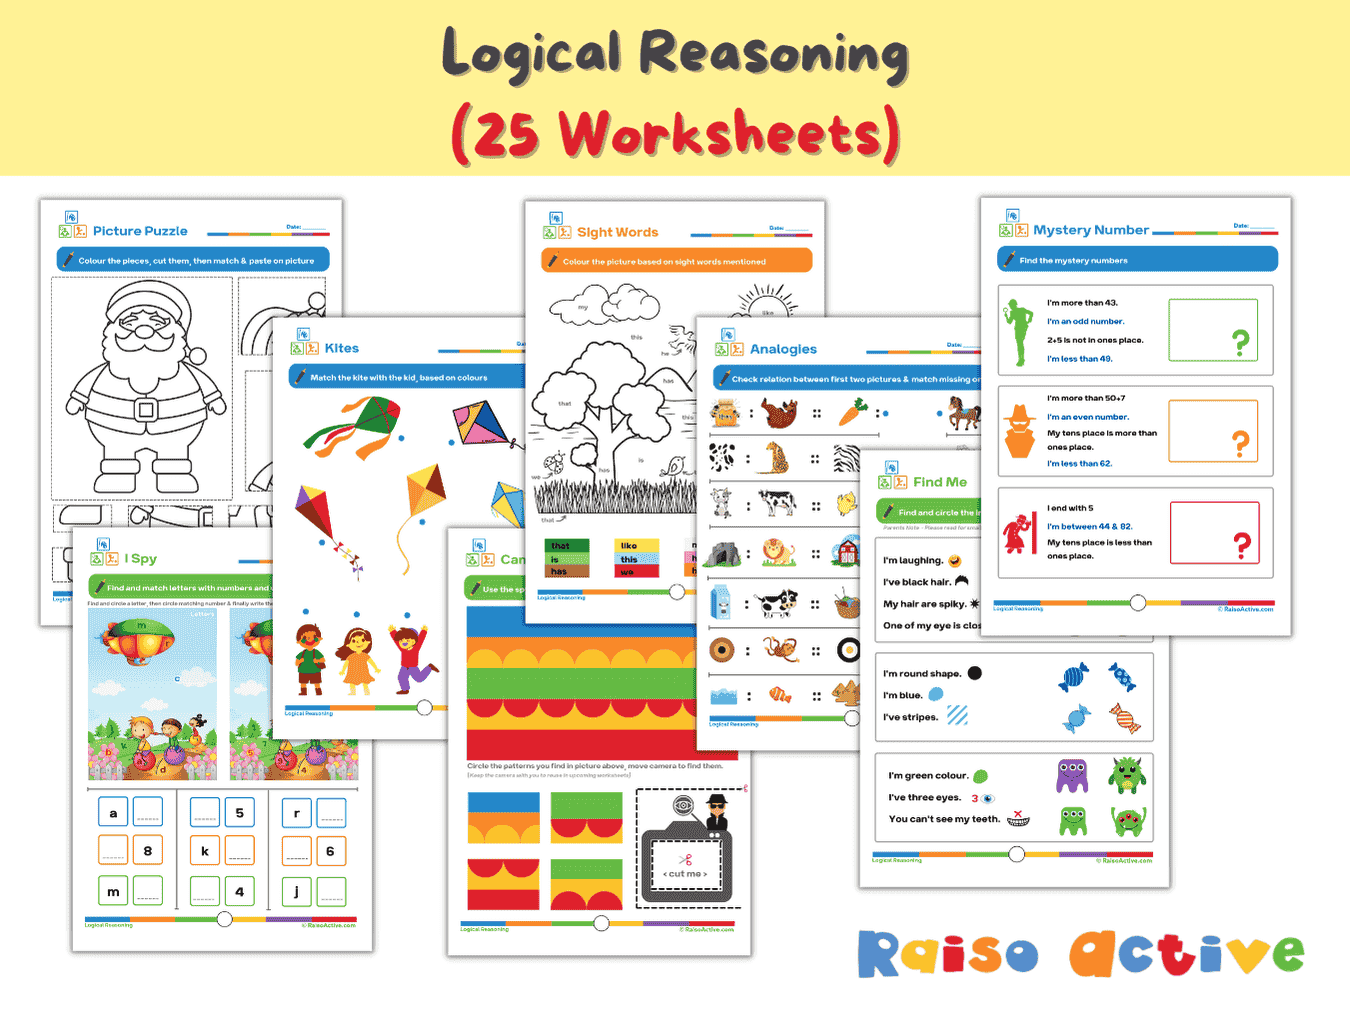

Logical Reasoning Activity Book for Preschool & Kindergarten | Patterns, Puzzles & Analogies
Ages 4-7 · Pre-K–Grade 1Ages 4-7 · Reception–Year 2Ages 4-7 · LKG–Class 1Ages 4-7 · 26 pages
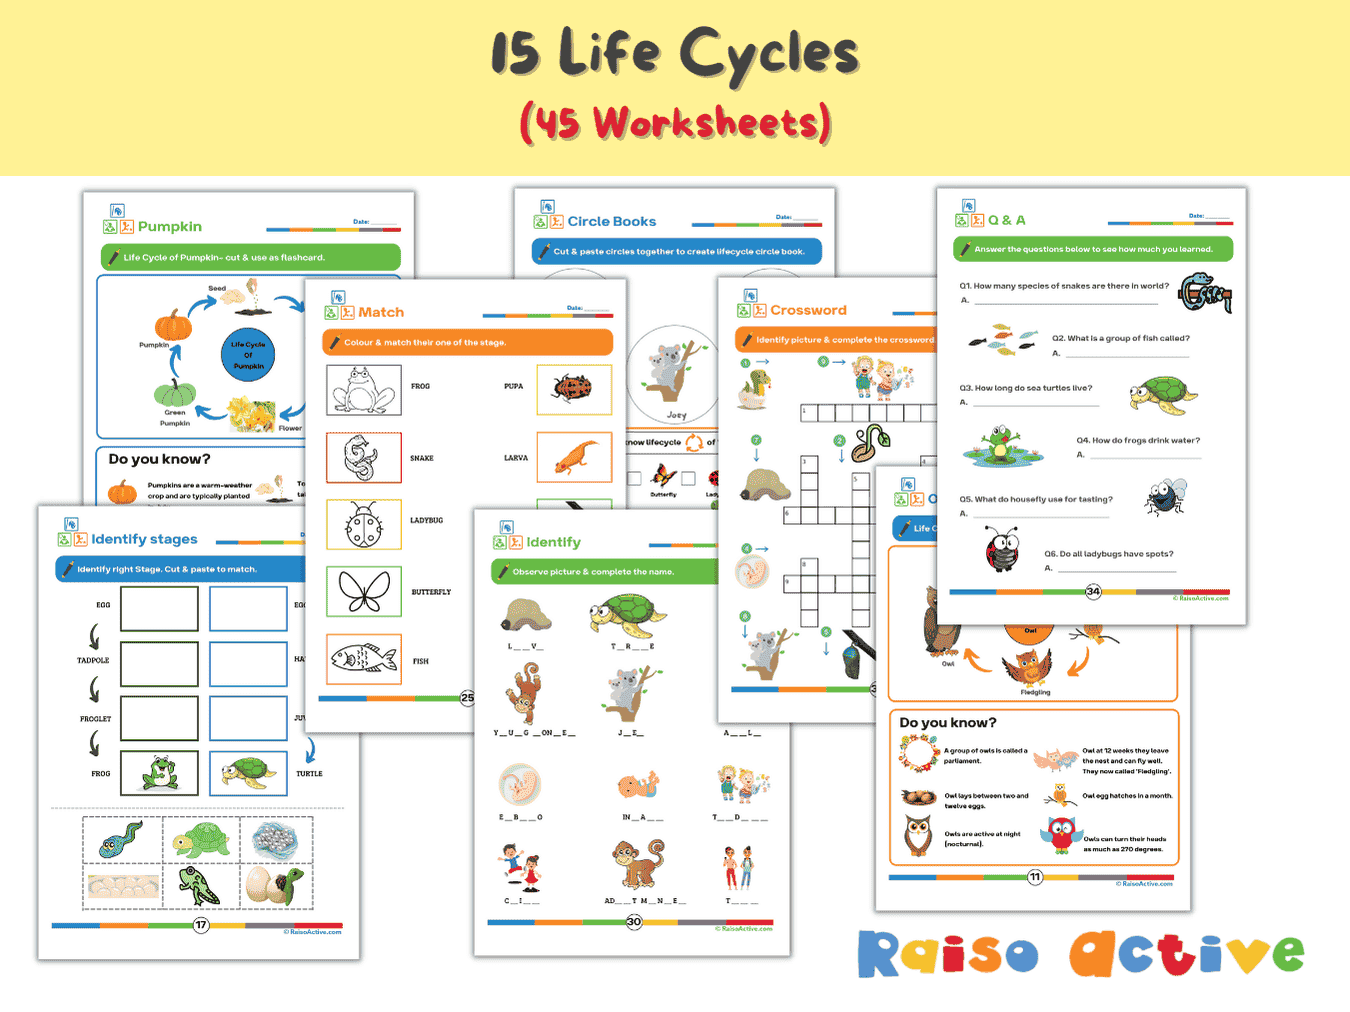

Lifecycles Activity Book & Flashcards for Preschool & Early Elementary
Ages 3-8 · Preschool–Grade 2Ages 3-8 · Nursery–Year 3Ages 3-8 · Nursery–Class 2Ages 3-8 · 46 pages
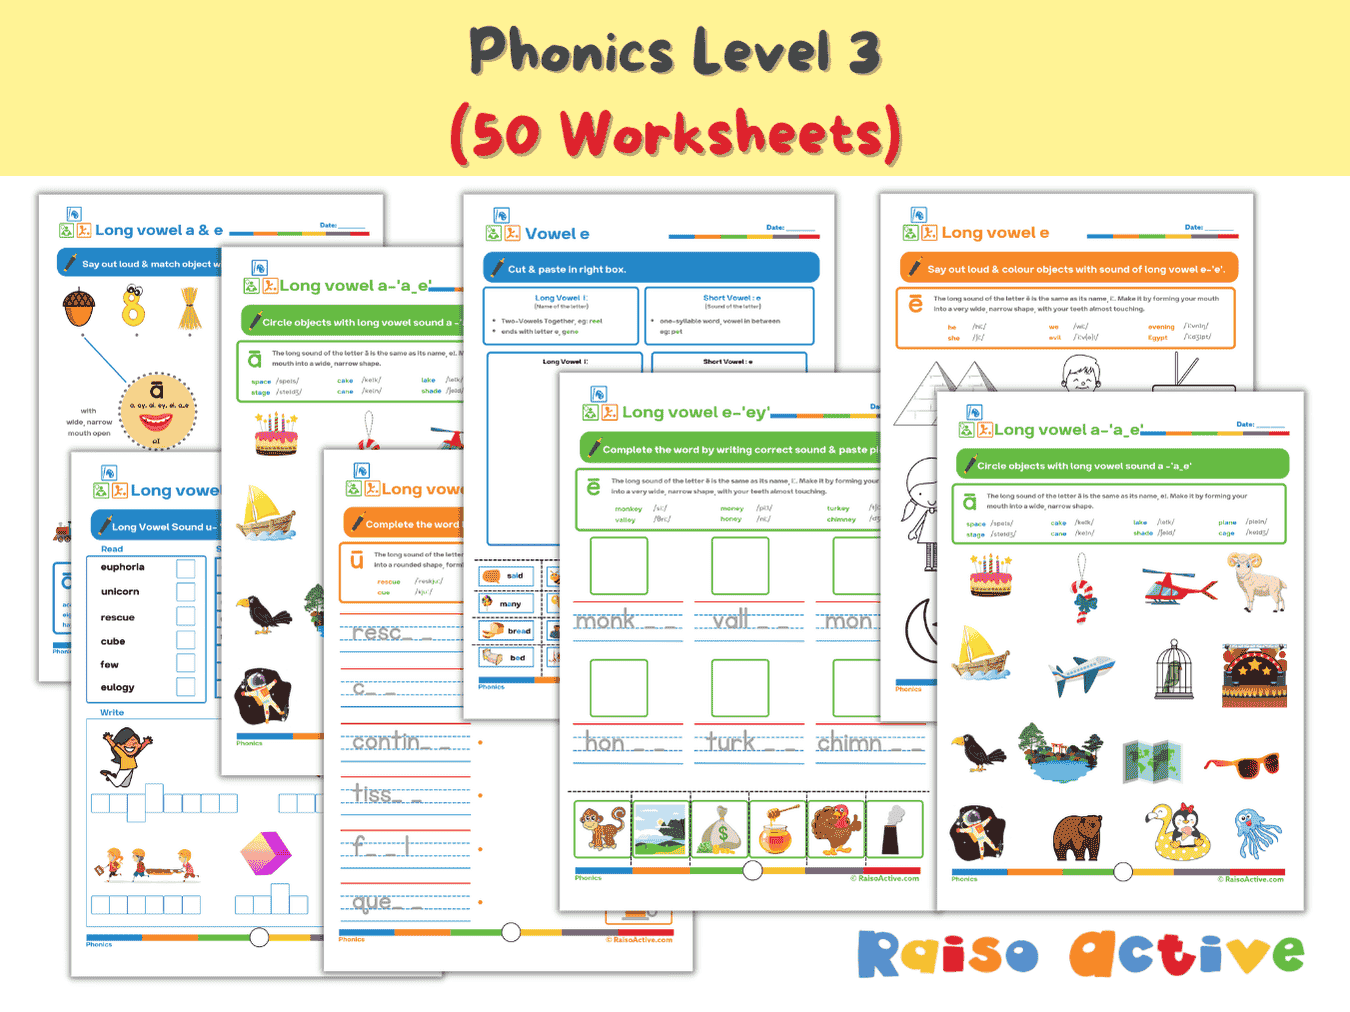

Phonics Level 3 Long Vowels Activity Book for Kindergarten & 1st Grade
Ages 5-7 · Kindergarten–Grade 1Ages 5-7 · Year 1–Year 2Ages 5-7 · UKG–Class 1Ages 5-7 · 51 pages
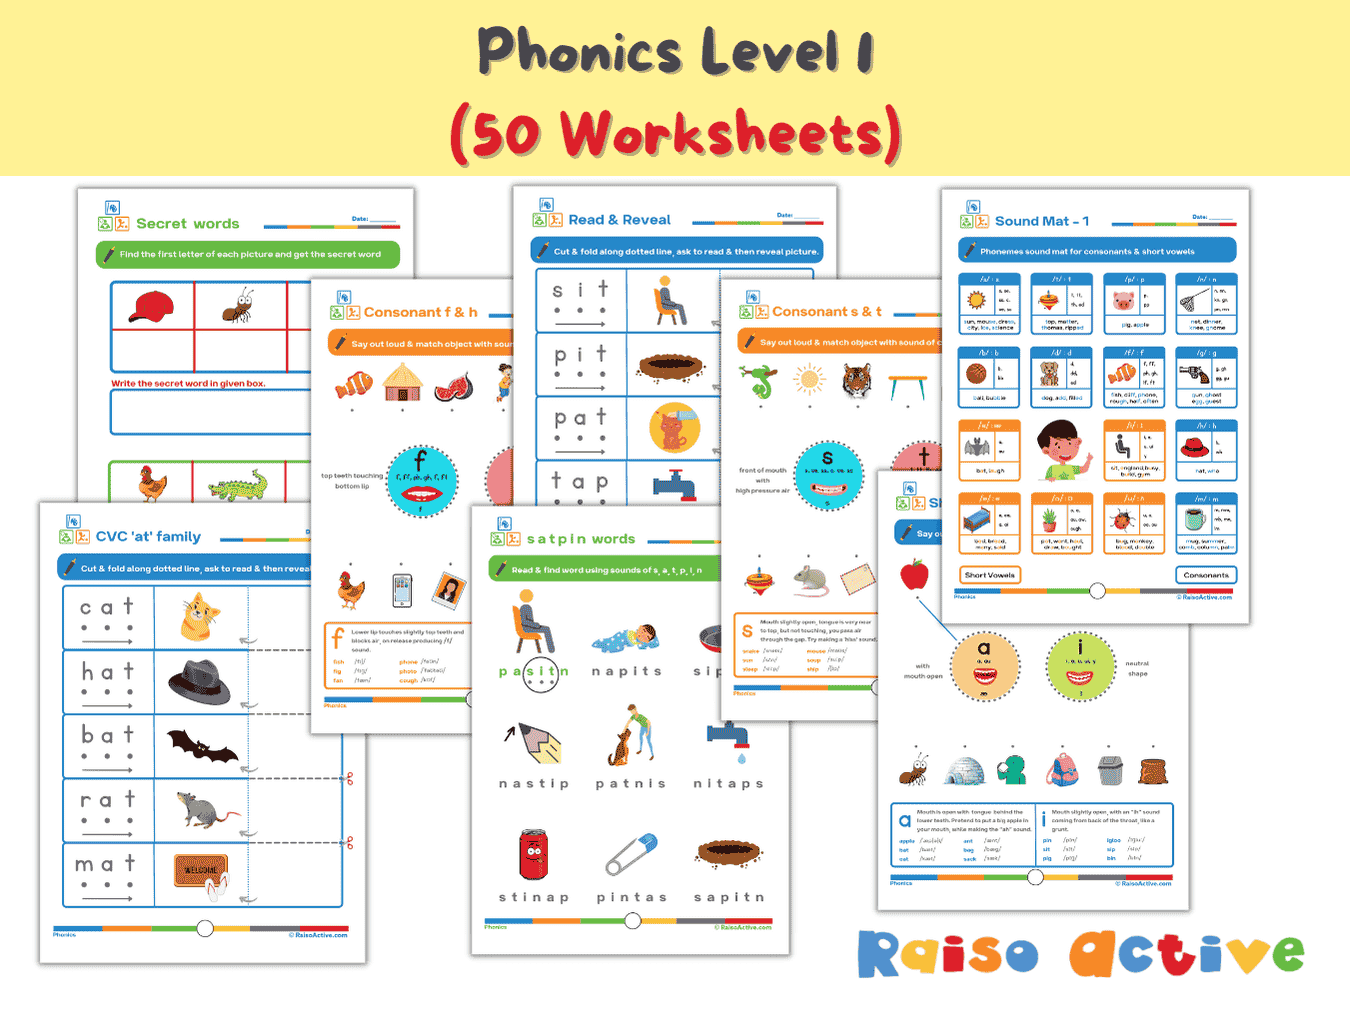
Phonics Level 1 Activity Book: Letter Sounds, Blending & CVC Words for Preschool & Kindergarten
Ages 3-6 · Preschool–KindergartenAges 3-6 · Nursery–Year 1Ages 3-6 · Nursery–UKGAges 3-6 · 60 pages
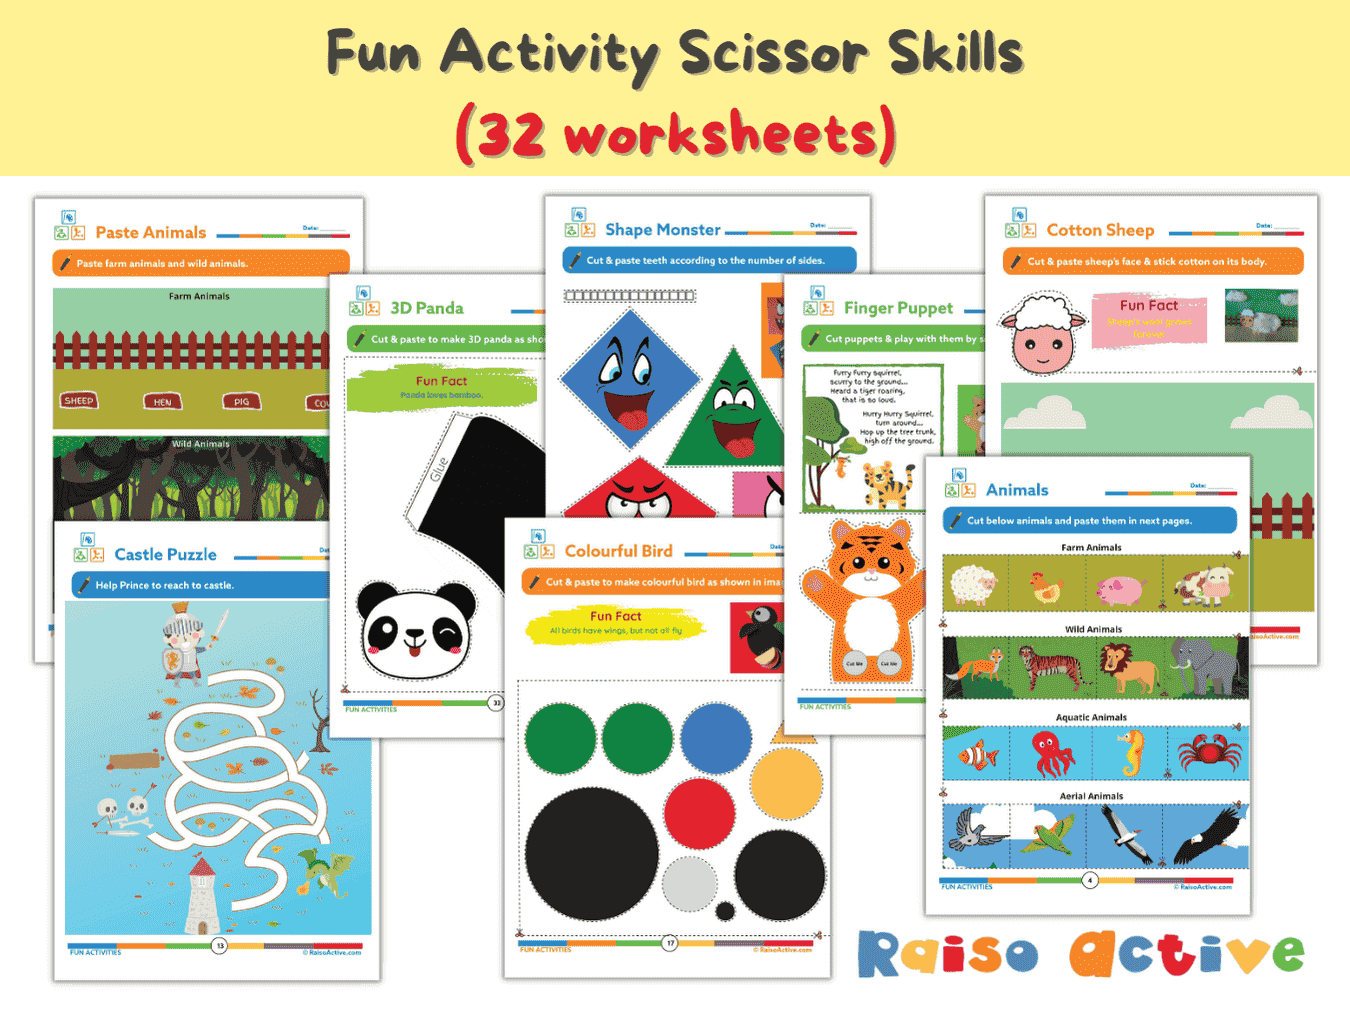
Preschool Scissor Skills Activity Book: Fine Motor & Craft Fun for Ages 3-6
Ages 3-6 · Preschool–KindergartenAges 3-6 · Nursery–Year 1Ages 3-6 · Nursery–UKGAges 3-6 · 35 pages
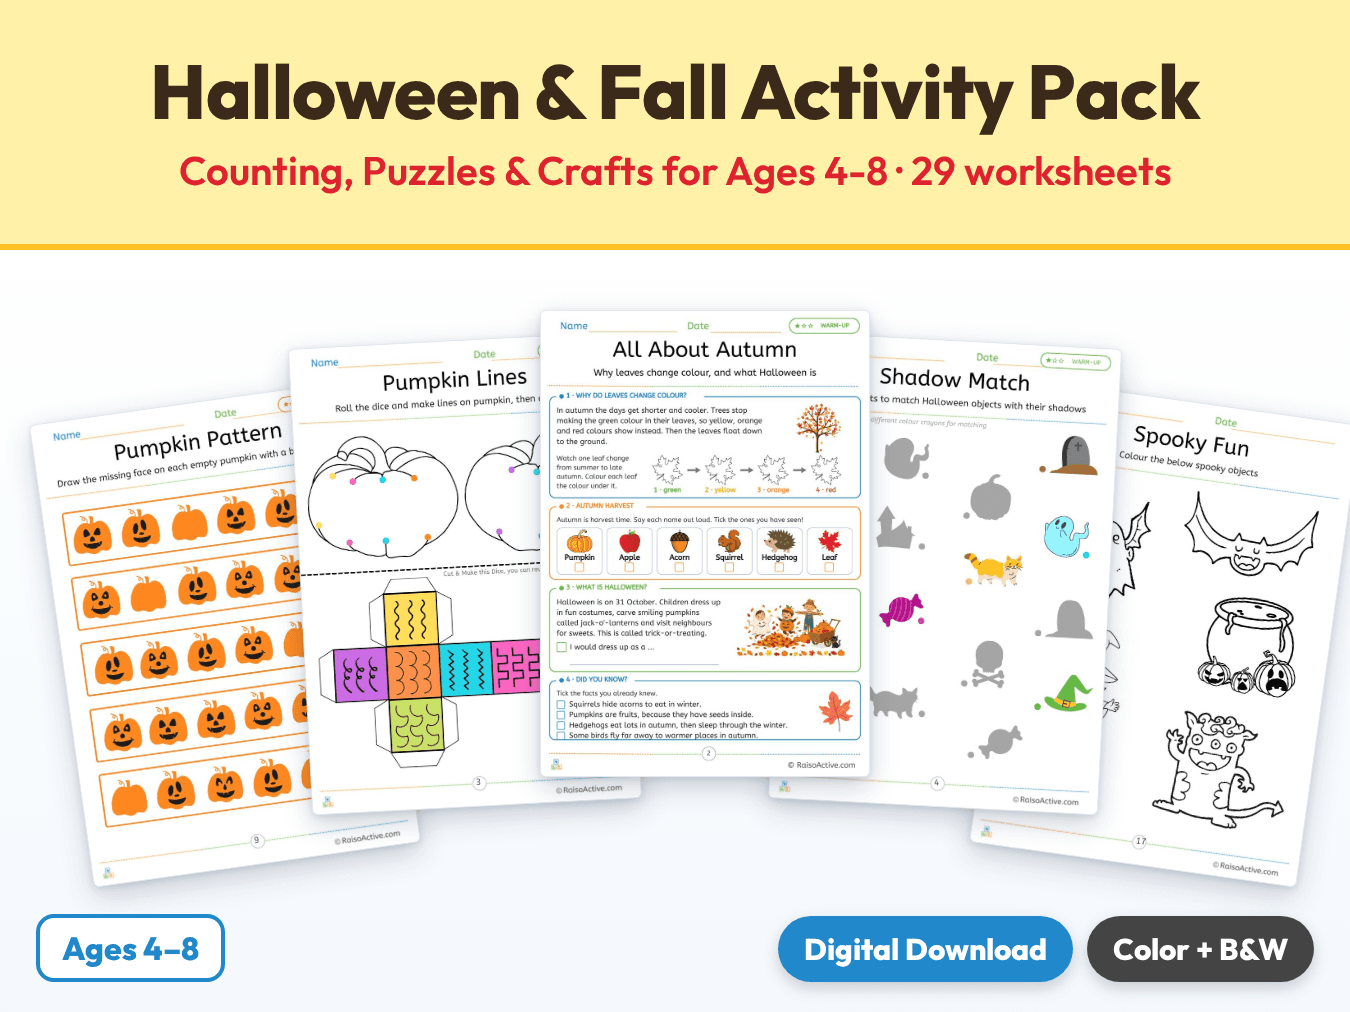
Halloween & Fall Activity Pack: Counting, Puzzles & Crafts for Ages 4-8
Ages 4-8 · Pre-K–Grade 2Ages 4-8 · Reception–Year 3Ages 4-8 · LKG–Class 2Ages 4-8 · 30 pages
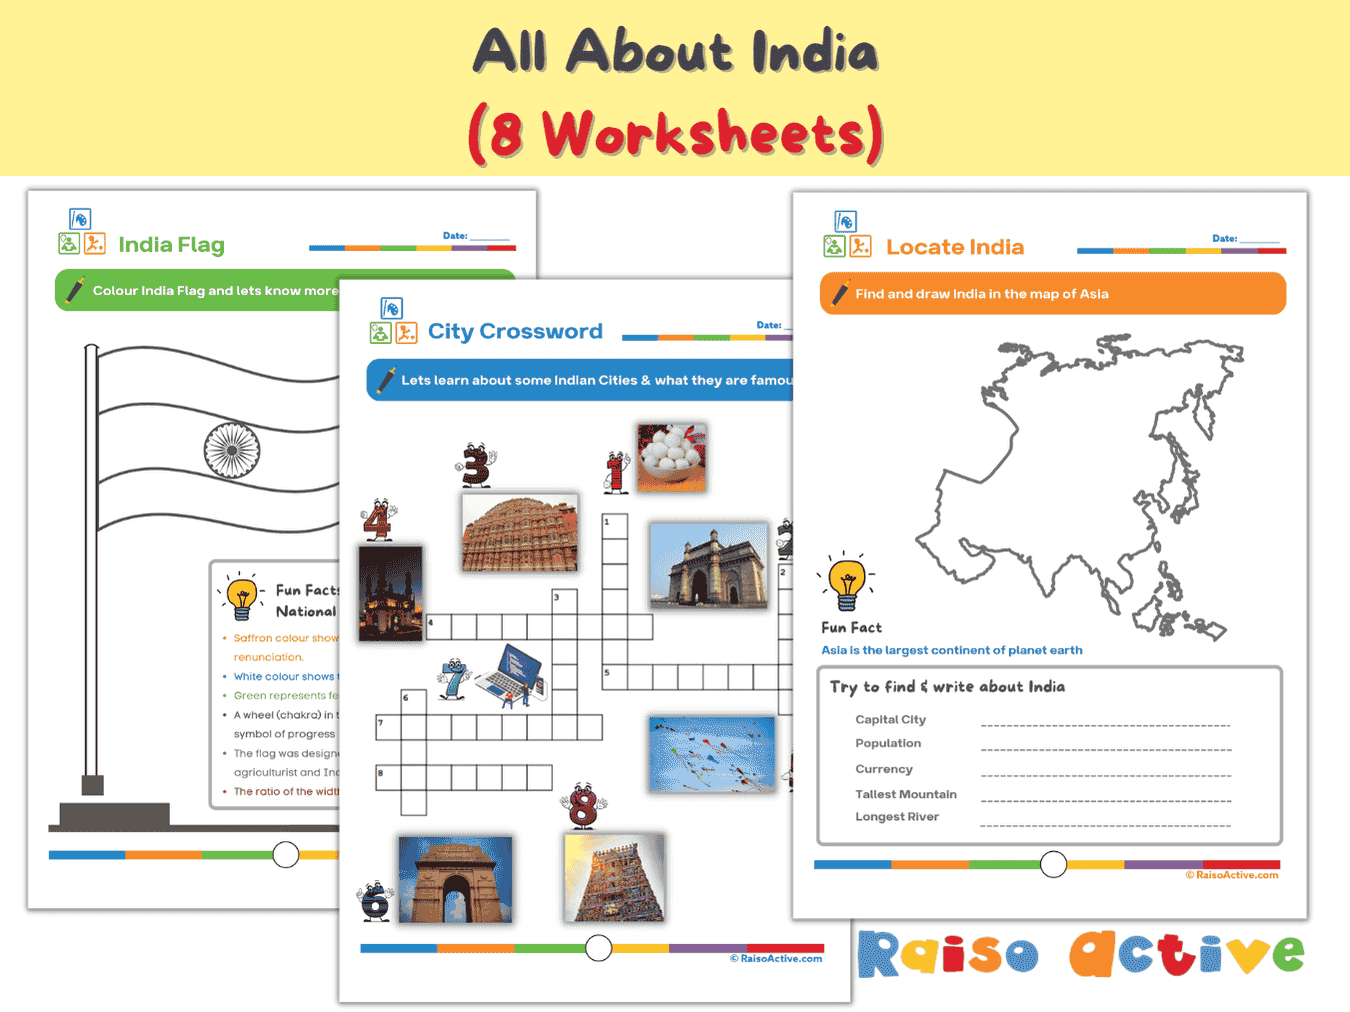
India Activity Book for Kids: Explore Geography, Culture & Symbols (Ages 5-8)
Ages 5-8 · Kindergarten–Grade 2Ages 5-8 · Year 1–Year 3Ages 5-8 · UKG–Class 2Ages 5-8 · 8 pages
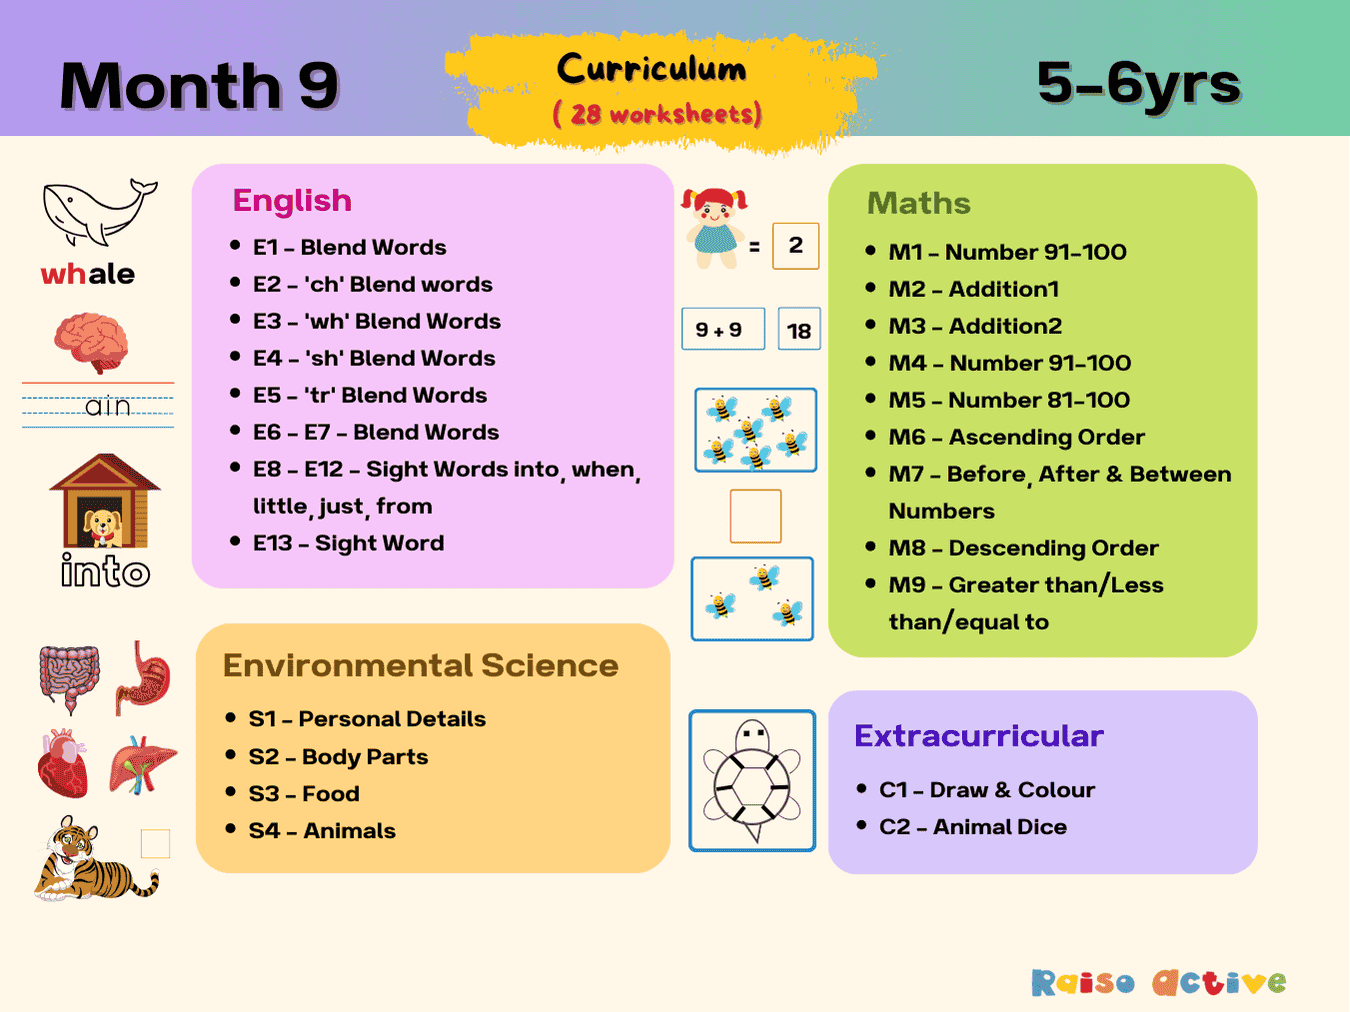
Month 9: Early Learning English Math Science | Ages 5-6
Ages 5-6 · KindergartenAges 5-6 · Year 1Ages 5-6 · UKGAges 5-6 · 31 pages