My 4-Year-Old Won't Hold a Pencil Correctly — How Can I Help? A Complete Guide for Parents
Author
RaisoActive - Kids Activities and Fun Learning
Published
Updated
Reading Time
16 min read

- Most 4-year-olds are not developmentally ready for a "correct" pencil grip — a fist grip at this age is completely normal
- The mature tripod grip typically develops between ages 4.5 and 7, and forcing it earlier can cause frustration and bad habits
- Building hand strength through play — playdough, pegs, tongs, threading — is far more effective than correcting grip directly
- Pencil grip aids and triangular pencils can help as temporary supports, but cannot replace muscle development
- Indian schools often introduce formal writing earlier than developmentally ideal — knowing this helps you advocate for your child
Why Your Child's Pencil Grip Is Worrying You — And Why You Can Breathe Easy
It starts innocently enough. You watch your 4-year-old pick up a pencil at the kitchen table — and instead of holding it the way you expected, they wrap their whole fist around it, or squeeze it awkwardly between the wrong fingers, or press so hard the tip snaps. Your heart sinks just a little. Their classmates seem to be holding pencils fine. The teacher sent home a note. You start wondering: is something wrong with my child?
Here is the reassuring truth that most parents are never told: an incorrect pencil grip at age 4 is not a problem — it is a developmental stage. The way a child holds a pencil is directly related to the strength and coordination of the tiny muscles in their hand, and those muscles take years to develop. Expecting a 4-year-old to grip a pencil like an adult is a little like expecting them to ride a bicycle without stabilisers.
That said, you are not helpless. There is a lot you can do — through play, everyday activities, and a patient approach — to support your child's grip development naturally and effectively. This guide will walk you through everything: what is normal, what to look for, what actually helps, and when (if ever) to seek professional advice.
What a "Correct" Pencil Grip Actually Looks Like
Before we talk about what is going wrong, it helps to understand what we are aiming for — and why it matters. The gold-standard grip that handwriting experts and occupational therapists refer to is called the dynamic tripod grip. In this grip, the pencil rests on the middle finger, is held in place by the thumb and index finger, and the writing movement comes from the fingertips rather than the whole arm.
The word dynamic is important here. A dynamic grip means the fingers move fluidly while writing. This is what gives handwriting its speed, fluency, and stamina. A child using a whole-fist grip, or one where all five fingers are clamped around the pencil, will tire quickly and produce laboured, stiff writing — not because they are lazy or careless, but because they are fighting against their own muscle limitations.
The mature tripod grip is not just about aesthetics. It determines how long a child can write without fatigue, how legible their handwriting becomes, and whether they develop a positive or negative relationship with writing.
Research from occupational therapy literature consistently shows that children who develop functional grips early experience fewer handwriting difficulties at school entry.
Common Incorrect Grips — And What They Mean
If your child is not using a tripod grip, they are almost certainly using one of these recognised grip patterns. Each tells you something about where they are in their development — and none of them means something is 'wrong' with your child.
- +Palmar supinate (fist) grip — entire hand wrapped around pencil, thumb on top
- +Digital pronate grip — all fingers pointing downward, wrist turned in
- +Modified tripod — right fingers, but stiff and close to the tip
- +Thumb wrap grip — thumb crosses over index finger
- +Lateral tripod — pencil rests on index finger rather than middle finger
- +Quadrupod — four fingers on the pencil instead of three
- -Normal for ages 1–2; at age 4, indicates hand muscles still developing
- -Normal for ages 2–3; transitional stage, shows progress from fist grip
- -Common at ages 3.5–4; muscles strengthening but not yet fully coordinated
- -Usually a sign of weak thumb opposition; responds well to strengthening play
- -Functional grip variant; many children write comfortably this way lifelong
- -Considered functional by most OTs if writing is comfortable and legible
The key question is always: is the grip causing pain, fatigue, or limiting the child's ability to write? If the answer is no, and the child is under 5.5, the best approach in almost every case is to support hand development through play and revisit grip guidance as they grow.
Why You Should Not Force Grip Correction Too Early
This is probably the most important section of this entire guide. If there is one thing occupational therapists agree on, it is this: forcing a young child to change their pencil grip before their muscles are ready almost always backfires. Here is why.
When you physically reposition a child's fingers on a pencil — or strap on a grip aid before their hand is strong enough — you are asking the child to maintain a grip their muscles cannot yet sustain. The result is one or more of the following: the child reverts to the old grip the moment you look away; they develop tension in the hand that leads to even more awkward habits; they begin to associate writing with discomfort or adult disapproval, damaging their motivation; or they develop a "compensatory" grip that looks right but is just as inefficient as the original one.
- Do not repeatedly move the child's fingers during a writing or drawing activity — it breaks concentration and creates negative associations
- Do not compare your child's grip to a sibling's or classmate's out loud in front of them
- Do not introduce grip aids before age 4.5 unless recommended by an occupational therapist
- Do not extend writing sessions hoping more practice will fix the grip — short, joyful sessions build better habits than long, frustrated ones
- Do not use rubber bands, tape, or DIY contraptions to hold fingers in place — these can cause tension and soreness
Occupational therapists recommend no more than 5–10 minutes of formal writing practice for children under 5. Extended writing sessions before hand muscles are ready can create lasting compensatory grip patterns that are difficult to undo once they become habitual.
Source: Indian Association of Occupational Therapists, Early Childhood Guidelines
The Truth About Early Writing Pressure in Indian Schools
If you are a parent in India, you have likely felt the specific pressure that comes with the Indian early schooling system. LKG and UKG curricula in many private schools introduce formal writing — English letters, Hindi akshar, numbers — from as early as age 3.5. Parents receive printed homework sheets. Teachers check how children are holding their pencils. Some schools even mark children's notebook work on neatness from nursery onward.
This reality creates a genuine dilemma. You know your child's hand is not ready. But you also do not want them to fall behind. Here is what is worth remembering: the international research consensus — including guidance from paediatric occupational therapists, the American Academy of Pediatrics, and early childhood education bodies in the UK and Australia — consistently recommends that formal handwriting instruction should begin no earlier than age 5, and ideally age 5.5 to 6.
That does not mean you should do nothing. It means the best preparation for writing — both short-term and long-term — is not more writing practice but targeted hand-strengthening play. A child who spends ages 3–5 rolling playdough, using pegs, threading beads, and drawing freely will almost always develop a better grip than one who spent the same years filling in worksheet lines before their muscles were ready.
Indian school systems often introduce writing earlier than developmental research recommends. You can meet the school's expectations while still protecting your child's long-term handwriting health by prioritising hand-strengthening play at home alongside the school's writing practice.
Pre-Writing Activities That Build Hand Strength Naturally
The activities below do not look like writing practice — but they are doing something far more important: building the 30-plus small muscles in the hand and forearm that a child needs before a correct grip becomes physically possible. These are the activities occupational therapists prescribe. They work best when they are fun, playful, and woven into everyday life rather than treated as 'exercises.'
1. Playdough, Clay, and Dough Work
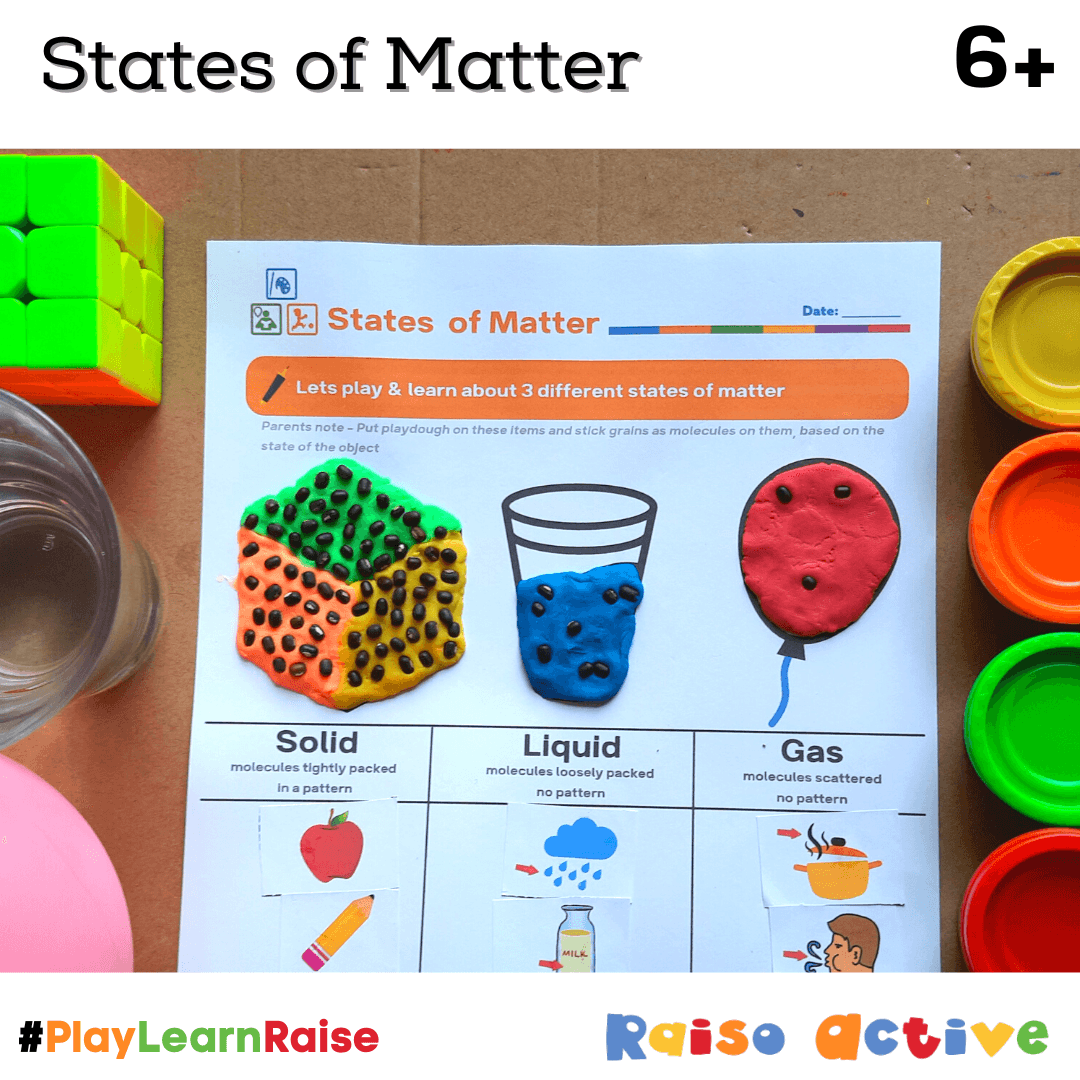
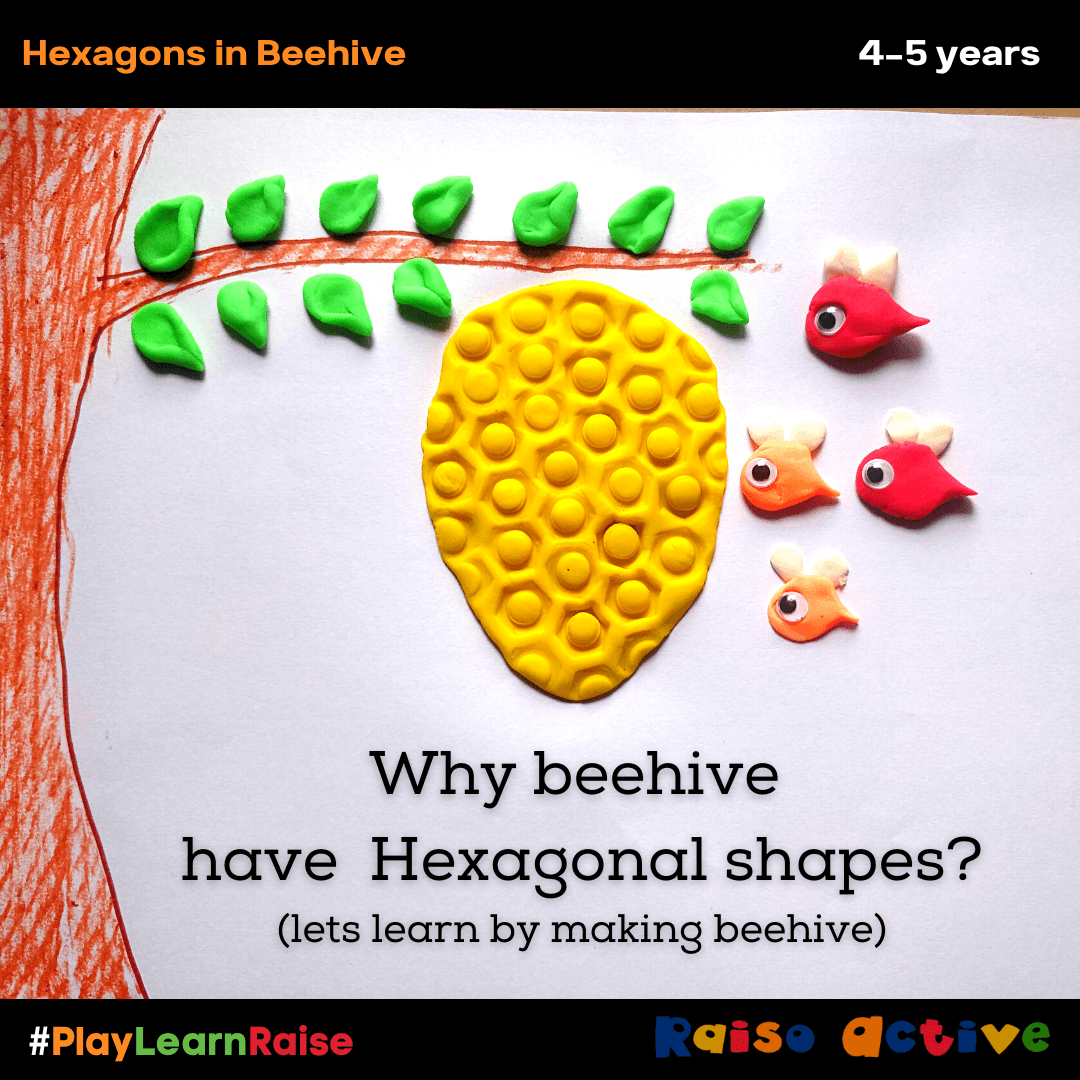
Playdough is the single most recommended hand-strengthening activity in occupational therapy for young children — and for good reason. Rolling, squeezing, pinching, and pulling dough engages virtually every small muscle in the hand simultaneously. In India, you can use atta dough (chapati dough) as a free, readily available alternative to commercial playdough. Ask your child to roll tiny balls between their thumb and index finger — this directly trains the muscles used in tripod grip.
- Age 3: Rolling ropes and balls, pressing flat with the palm, making footprints with toys
- Age 4: Pinching small pieces off, rolling tiny balls between thumb and index finger, using a plastic knife to "cut"
- Age 4.5–5: Making shapes using cookie cutters, pressing beads into dough, rolling thin snakes with one finger
- Age 5+: Sculpting small animals or objects, using tools like a fork or toothpick for detail work
2. Clothes Pegs and Tongs
Pinching a clothes peg open and closed requires almost exactly the same muscles as holding a pencil in a tripod grip. Keep a basket of wooden pegs and ask your child to clip them onto the edge of a cardboard box, hang washing on a low line, or peg together strips of coloured paper. Kitchen tongs — the spring-loaded variety — are equally effective. Transfer pasta pieces, cotton balls, or ice cubes between bowls using the tongs.
3. Threading and Lacing
Threading develops the pincer grip — the thumb-and-index-finger coordination that is a prerequisite for the tripod grip. Start with large wooden beads and thick string or a shoelace. As your child's coordination improves, move to smaller beads and thinner cord. Lacing cards (you can make these at home by punching holes in stiff cardboard) are another excellent option and doubles as a quiet, focused activity for journeys or waiting rooms.
4. Spray Bottles and Squeezing
A simple trigger-action spray bottle — the kind used for plants or cleaning — is one of the most effective hand-strengthening tools for young children. Let your child water plants, mist the balcony garden, or spray targets drawn on the wall. The repeated squeezing action builds hand endurance in a way that feels like play. Squeezing water out of sponges during bath time or at the kitchen sink works on the same muscles.
- **Tearing paper** — Old newspapers, junk mail, or coloured paper; ask them to tear strips and shapes for a collage
- **Sticker play** — Peeling stickers off the backing requires precise pincer control and is surprisingly challenging for young children
- **Dot painting with cotton buds** — Dipping a cotton bud in paint and making dots naturally encourages a tripod-style hold
- **Picking up small items with tweezers** — Pom poms, lentils, chickpeas into an ice tray or muffin tin
- **Kneading dough** — Invite your child into the kitchen when making chapati or cookies; kneading builds excellent hand strength
- **Unwrapping small items** — Opening tightly wrapped parcels, unscrewing bottle caps, and opening zip-lock bags all build hand strength
A study tracking pre-schoolers over two years found that children who had regular access to fine motor play materials — playdough, beads, pegs, scissors — consistently reached functional pencil grip milestones ahead of children whose early childhood was dominated by formal writing practice.
Source: Journal of Early Childhood Research
Do Pencil Grip Aids Actually Work?
Walk into any stationery shop in India and you will find a range of rubber pencil grippers — the Staedtler Noris triangular grip, the Pentel smiley grippers, the Faber-Castell Grip series. Parents buy them hoping they will fix the problem. Do they work?
The honest answer: sometimes, and only under the right conditions. Pencil grip aids work best as a temporary scaffold for children who already have reasonable hand strength and just need a reminder about finger placement. Think of them like training wheels — useful while the child is building confidence and muscle memory, but only effective if the underlying strength is already developing.
If you use a grip aid on a child whose hand muscles are not yet ready, what typically happens is that the child holds the grip aid — not the pencil — in the same fist or awkward grip as before. The rubber just shifts where the wrong grip happens. Triangular pencils (such as the Staedtler Noris or Crayola triangular crayons) are a gentler option — the shape naturally discourages a fist grip without forcing a specific finger position.
Grip aids are a useful temporary support for children aged 4.5 and above who are already building hand strength. They are not a substitute for fine motor play. Triangular pencils and short, broken crayons are often more effective — and less frustrating — for younger children.
Step-by-Step Approach to Supporting Pencil Grip from Age 3 to 6
Here is a practical, age-wise roadmap. The stages overlap — a 4-year-old might be at stage 2 or partway through stage 3, and that is fine. Use your observations of your child to find the right starting point, not just the age.
Your Age-Wise Pencil Grip Roadmap
Ages 3–3.5: Build Hand Strength Through Pure Play
At this stage, no grip correction is needed at all. Focus entirely on playdough, water play, tearing, threading large beads, and any activity that builds hand strength. Offer chunky crayons and chalk rather than thin pencils. Let children draw freely on large paper or outdoors on the ground. Celebrate the marks they make, not how they hold the tool.
Ages 3.5–4: Introduce Pincer Grip Activities
Now begin adding activities that specifically train the thumb-and-index-finger pincer grip: clothes pegs, tweezers, dot painting with cotton buds, sticker play, and picking up small objects. You can begin offering triangular crayons or shorter pencil stubs at this stage. Continue all the strengthening activities from the previous stage.
Ages 4–4.5: Offer Gentle Grip Guidance
If your child is showing interest in writing or drawing, you can now gently model the tripod grip — show them where you place your fingers, make it playful, and never correct mid-activity. The "pinch and drop" technique works well: ask the child to pinch the sharp end of the pencil between thumb and index finger, then let it drop and roll into the natural writing position. Do this as a game, not an instruction.
Ages 4.5–5: Use Structured Pre-Writing Practice
Introduce simple pre-writing sheets: horizontal lines, vertical lines, curves, and zigzags before letters. Keep sessions short (5–10 minutes) and always positive. This is the appropriate time to try a grip aid if finger placement is still consistently off — but continue the strengthening play activities alongside, not instead of, grip aids.
Ages 5–6: Formal Handwriting Readiness
Most children are now developmentally ready for more structured handwriting practice. Continue monitoring grip — a functional, comfortable grip is the goal, even if it is a lateral tripod or quadrupod rather than a classic tripod. If the child is over 5.5 and using a fist grip with no transition, consult an occupational therapist for a formal assessment.
When to See an Occupational Therapist
Most pencil grip concerns resolve naturally with time and the right activities. But there are specific signs that a professional assessment would be genuinely helpful — and the earlier you seek it, the more effective the intervention.
- Your child is 5.5 or older and still using a whole-fist (palmar) grip with no sign of transition toward finger-based grips
- Writing or drawing causes your child to complain of hand pain, or you notice them shaking or rubbing their hand after just a few minutes
- Your child consistently avoids all fine motor activities — not just writing, but also drawing, colouring, cutting, and manipulating small objects
- There is noticeably poor coordination in one hand compared to the other after age 4
- Your child presses so hard they frequently tear paper or snap pencil leads despite being asked to press more gently
- The school has flagged significant handwriting delays alongside other developmental concerns
In India, paediatric occupational therapists are available in most major cities through children's hospitals, developmental paediatric clinics, and private OT practices. Many now offer tele-consultations, which is helpful if you are in a smaller city. A good OT will assess your child's grip as part of a broader fine motor evaluation and give you a targeted home programme — not just grip correction, but the full underlying muscle development picture.
Frequently Asked Questions
My child is 4 years old and holds the pencil with their whole fist. Is this normal?
My child's school is asking them to write every day in LKG. What should I do?
Should I buy a pencil gripper for my 4-year-old?
The "pinch and drop" method — what exactly is it and how do I teach it?
My child holds the pencil correctly when I remind them but reverts immediately. What can I do?
Does being left-handed affect pencil grip development?
Free worksheets for this topic
Browse all worksheets
Pumpkin Lines Dice Game: Halloween Pre-Writing Worksheet
Ages 4-8 · Pre-K–Grade 2Ages 4-8 · Reception–Year 3Ages 4-8 · LKG–Class 2Ages 4-8
Children practise wavy, zigzag and looped pre-writing lines while playing a simple dice game.
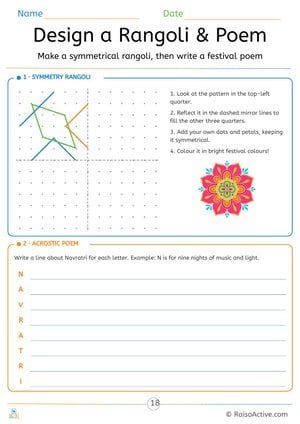
Navratri Symmetry Rangoli and Acrostic Poem
Ages 7-11 · Grade 2–Grade 3Ages 7-11 · Year 3–Year 4Ages 7-11 · Class 2–Class 3Ages 7-11
Children reflect a pattern in two mirror lines to complete a four-way symmetrical rangoli on a dot grid, add their own symmetrical details, and write an acrostic poem with one line for each letter of NAVRATRI.
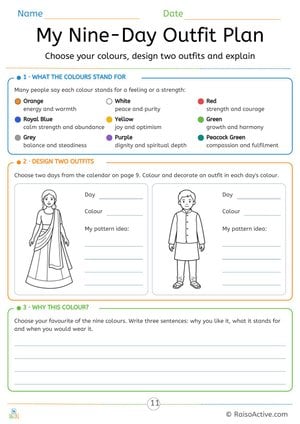
My Nine-Day Outfit Plan: Navratri Colours Design and Writing
Ages 7-11 · Grade 2–Grade 3Ages 7-11 · Year 3–Year 4Ages 7-11 · Class 2–Class 3Ages 7-11
Children read what each of the nine colours is often said to stand for, choose two days from the calendar, colour and pattern a lehenga-style outfit and a kurta outfit in those colours, and write three sentences explaining their favourite colour.
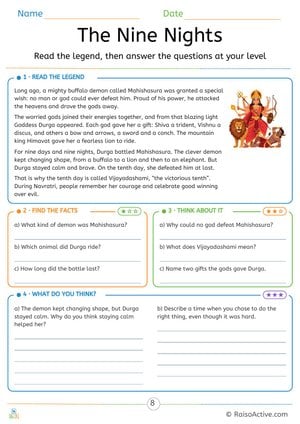
The Nine Nights: Durga and Mahishasura Reading Comprehension
Ages 7-11 · Grade 2–Grade 3Ages 7-11 · Year 3–Year 4Ages 7-11 · Class 2–Class 3Ages 7-11
Children read a retelling of the legend of Durga and Mahishasura, find facts in the text, answer inference questions about why things happened, and write their own opinion about staying calm and doing the right thing.
Written by
Hemsweta Jain · Teacher Cheena
MBA and Early Childhood Educator, teaching since 2014 · Founder of RaisoActive, Mumbai
Published · Last reviewed
Related Resources
Printable Resources(10)
View all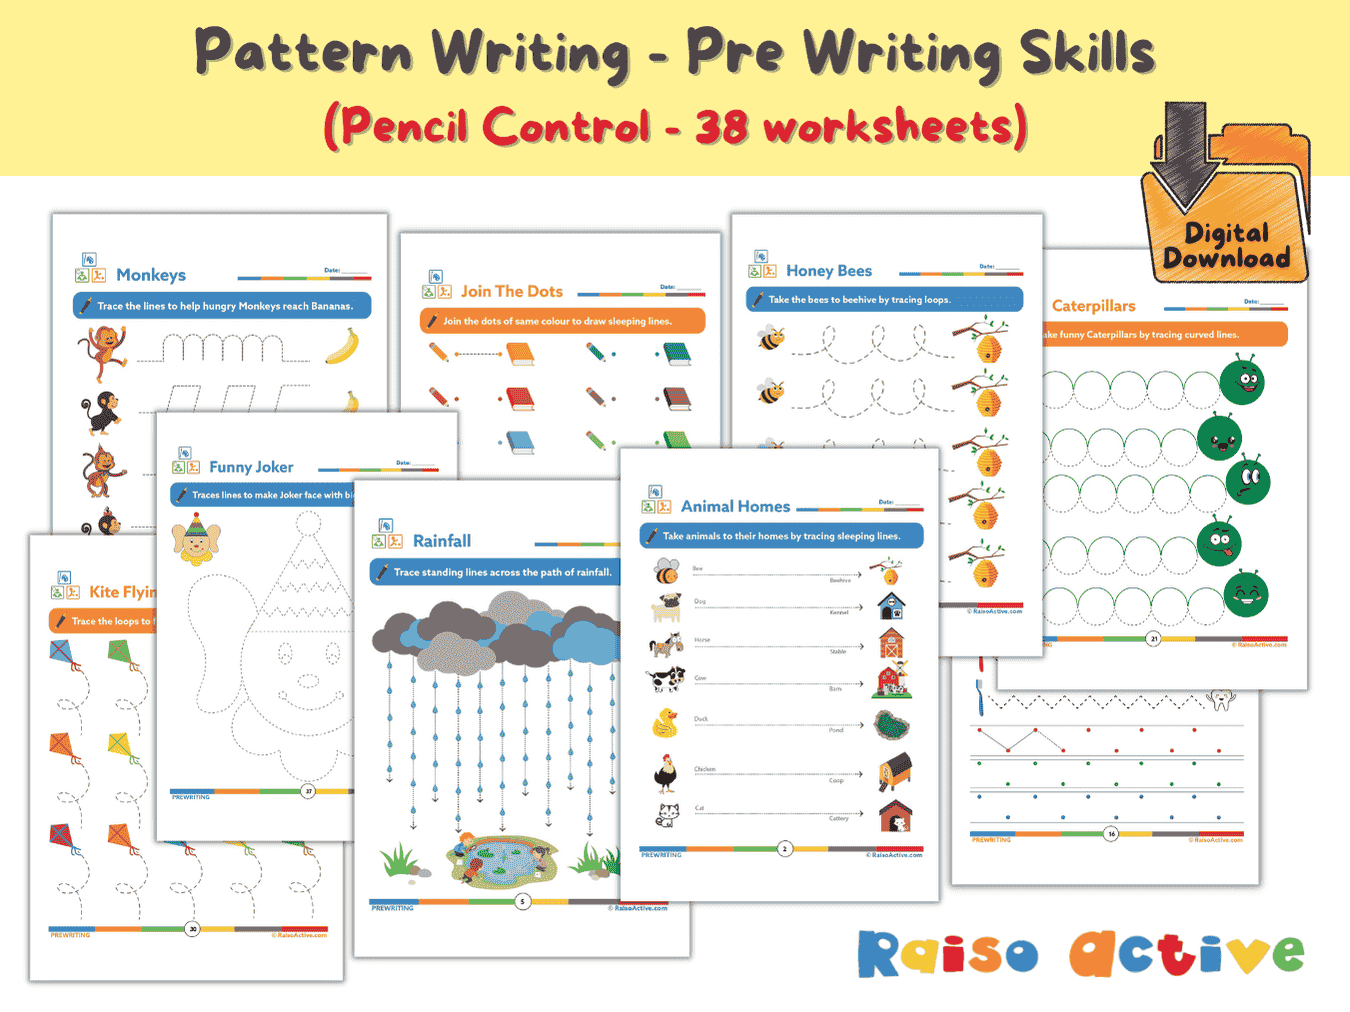

Pattern Writing Pre-writing Skills Activity Book for 3-4 Year Olds
Ages 3-4 · PreschoolAges 3-4 · NurseryAges 3-4 · 44 pages
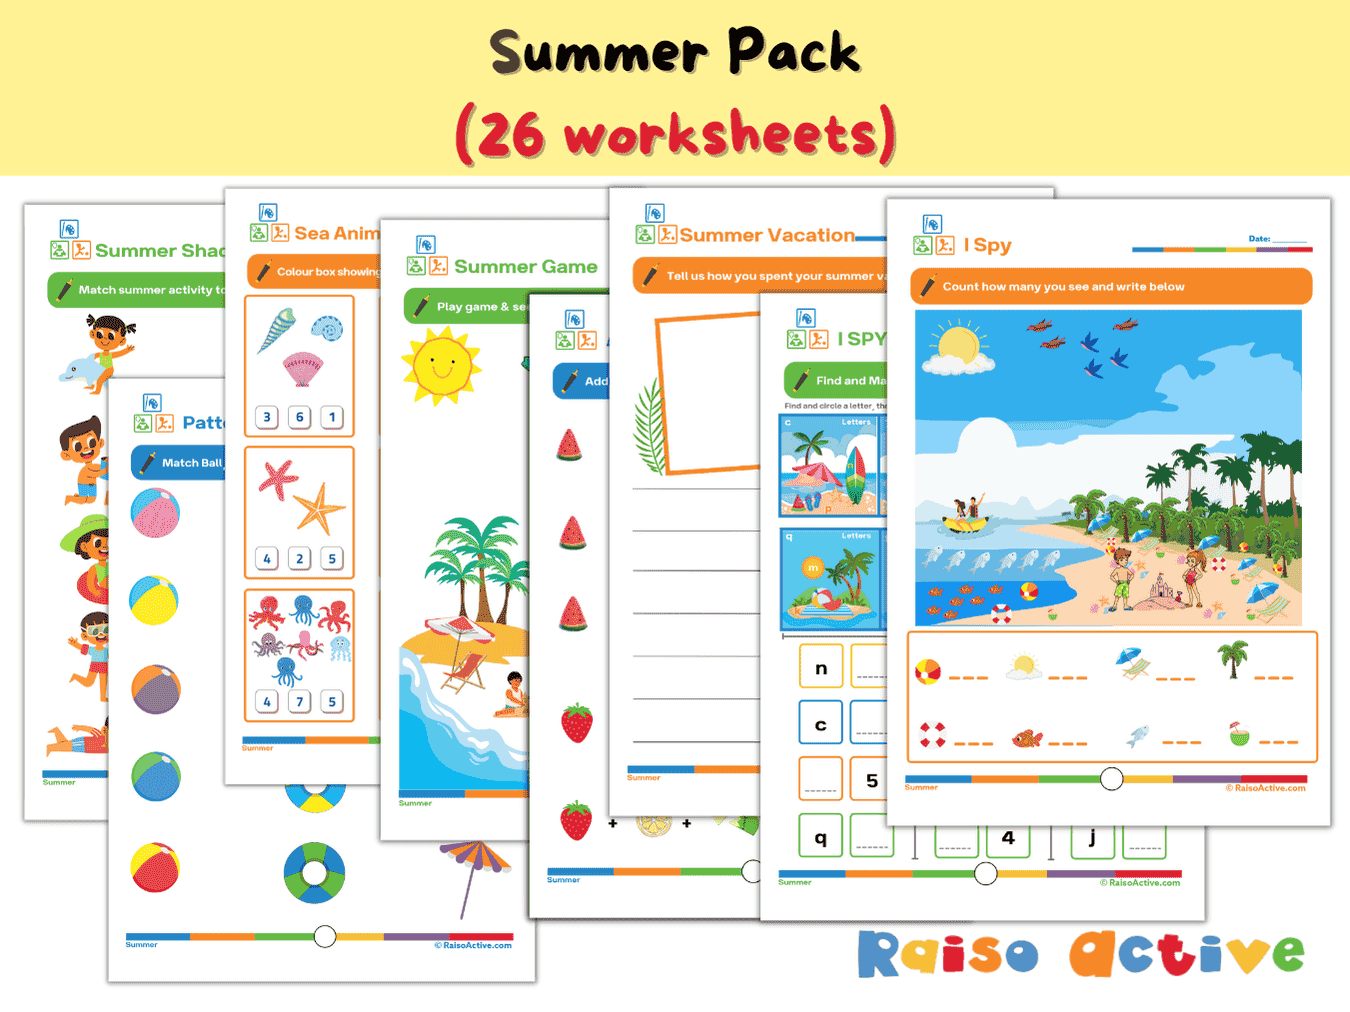

Summer Activity Pack: Math, Literacy, Puzzles & More for Preschool & Kindergarten
Ages 3-7 · Preschool–Grade 1Ages 3-7 · Nursery–Year 2Ages 3-7 · Nursery–Class 1Ages 3-7 · 26 pages
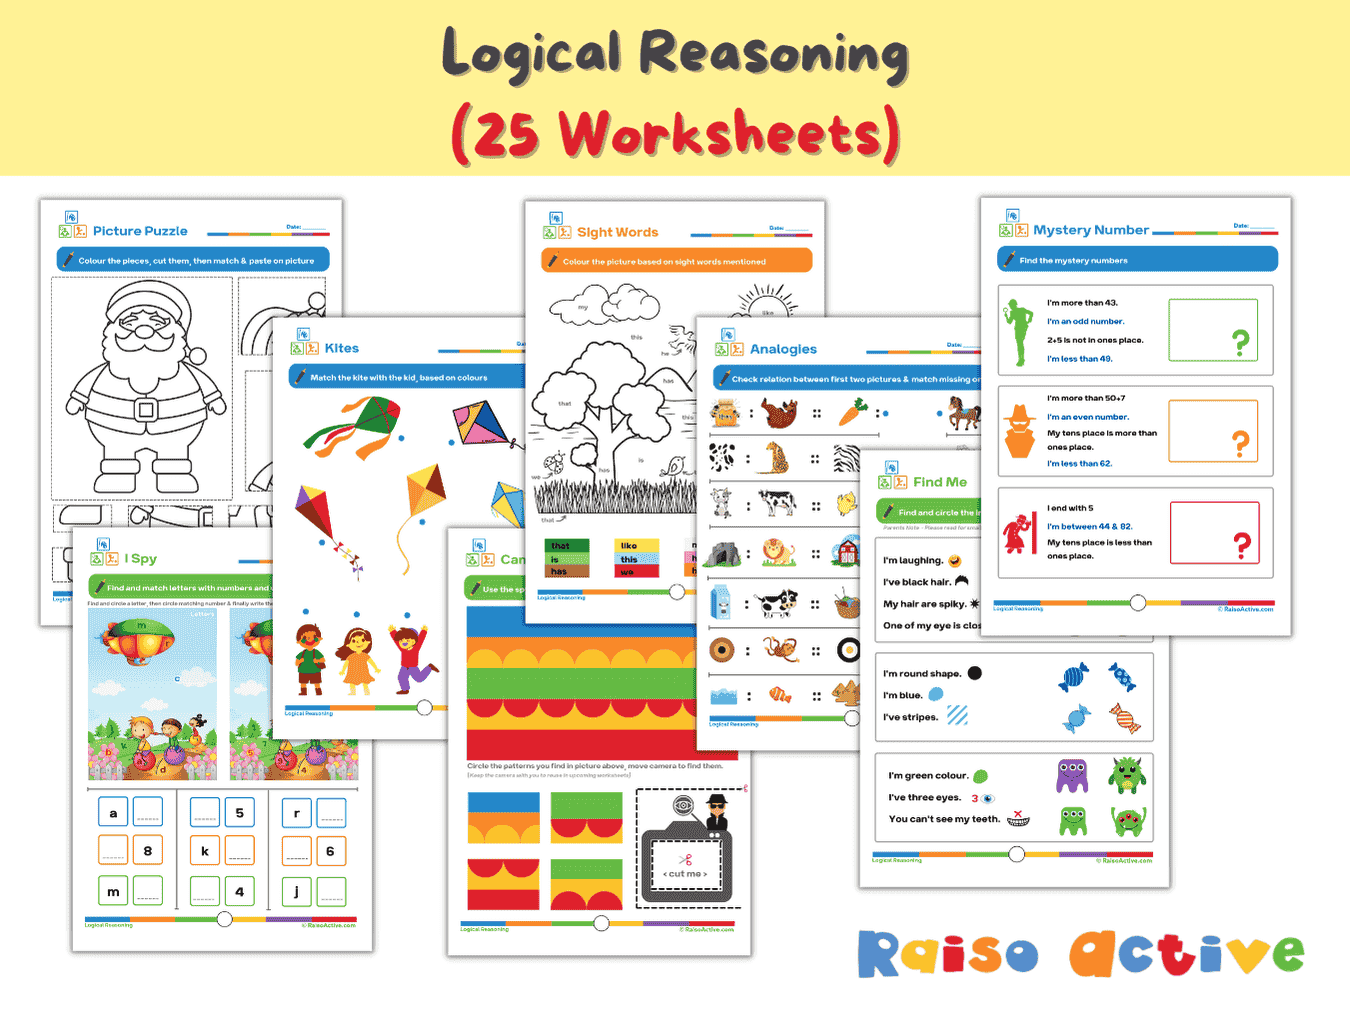

Logical Reasoning Activity Book for Preschool & Kindergarten | Patterns, Puzzles & Analogies
Ages 4-7 · Pre-K–Grade 1Ages 4-7 · Reception–Year 2Ages 4-7 · LKG–Class 1Ages 4-7 · 26 pages
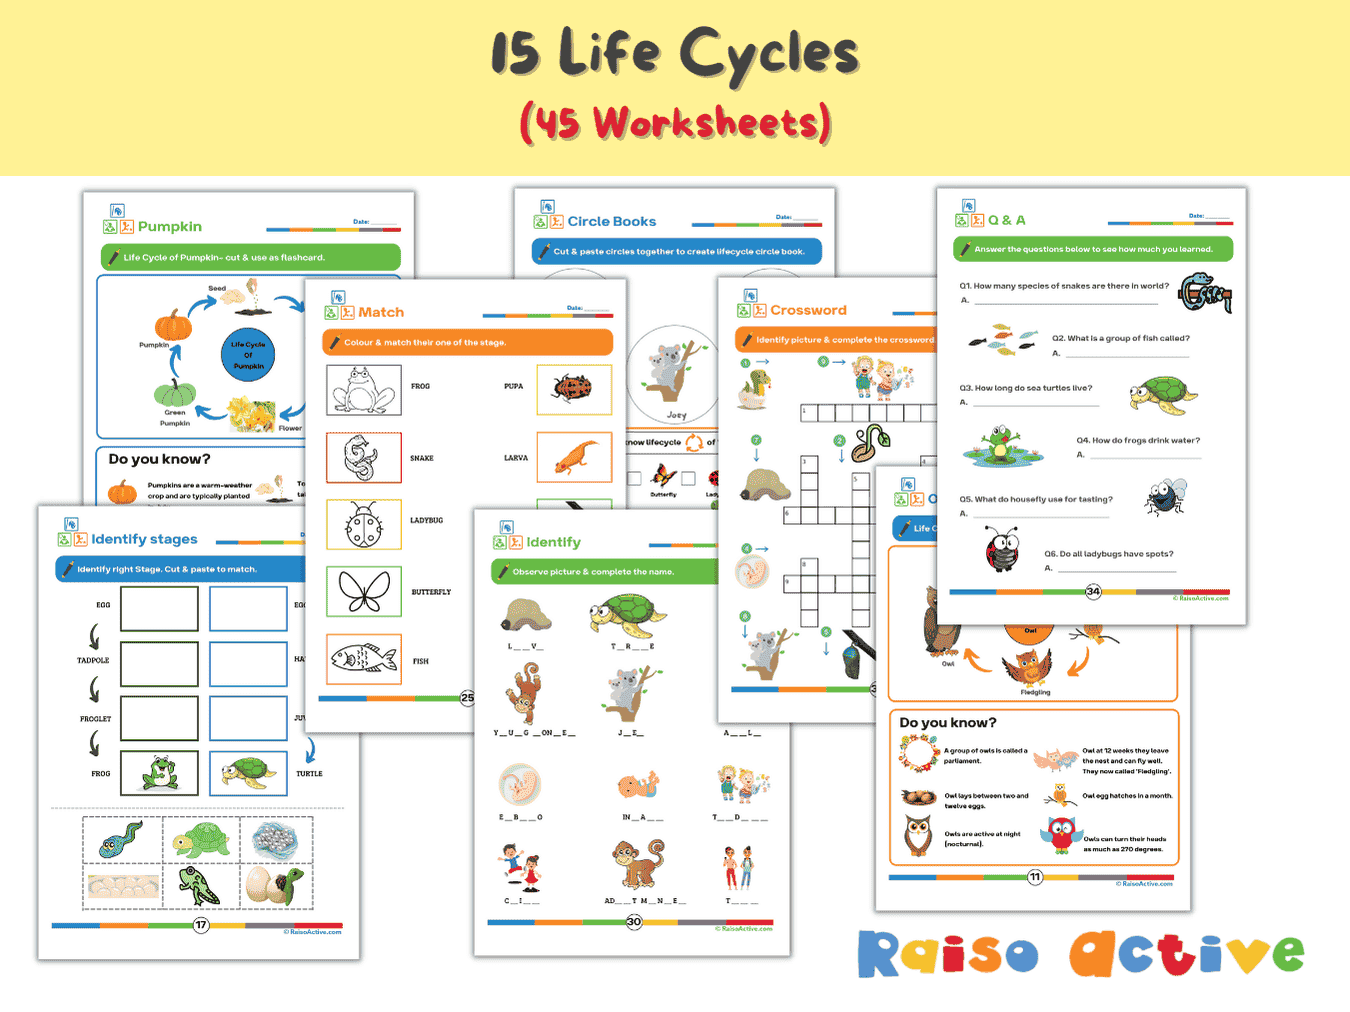

Lifecycles Activity Book & Flashcards for Preschool & Early Elementary
Ages 3-8 · Preschool–Grade 2Ages 3-8 · Nursery–Year 3Ages 3-8 · Nursery–Class 2Ages 3-8 · 46 pages
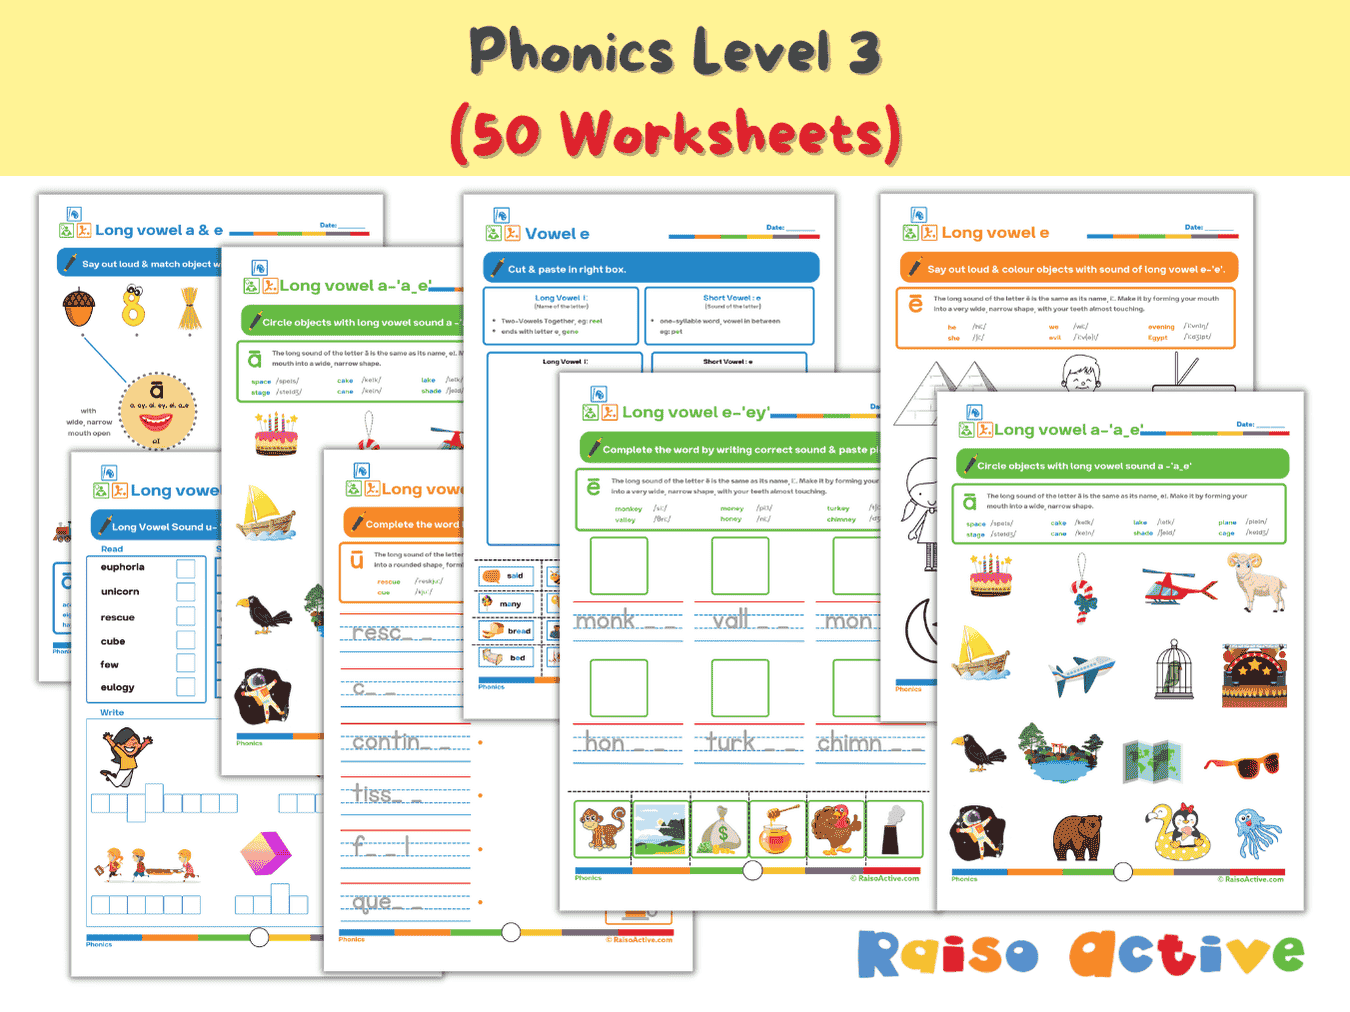

Phonics Level 3 Long Vowels Activity Book for Kindergarten & 1st Grade
Ages 5-7 · Kindergarten–Grade 1Ages 5-7 · Year 1–Year 2Ages 5-7 · UKG–Class 1Ages 5-7 · 51 pages
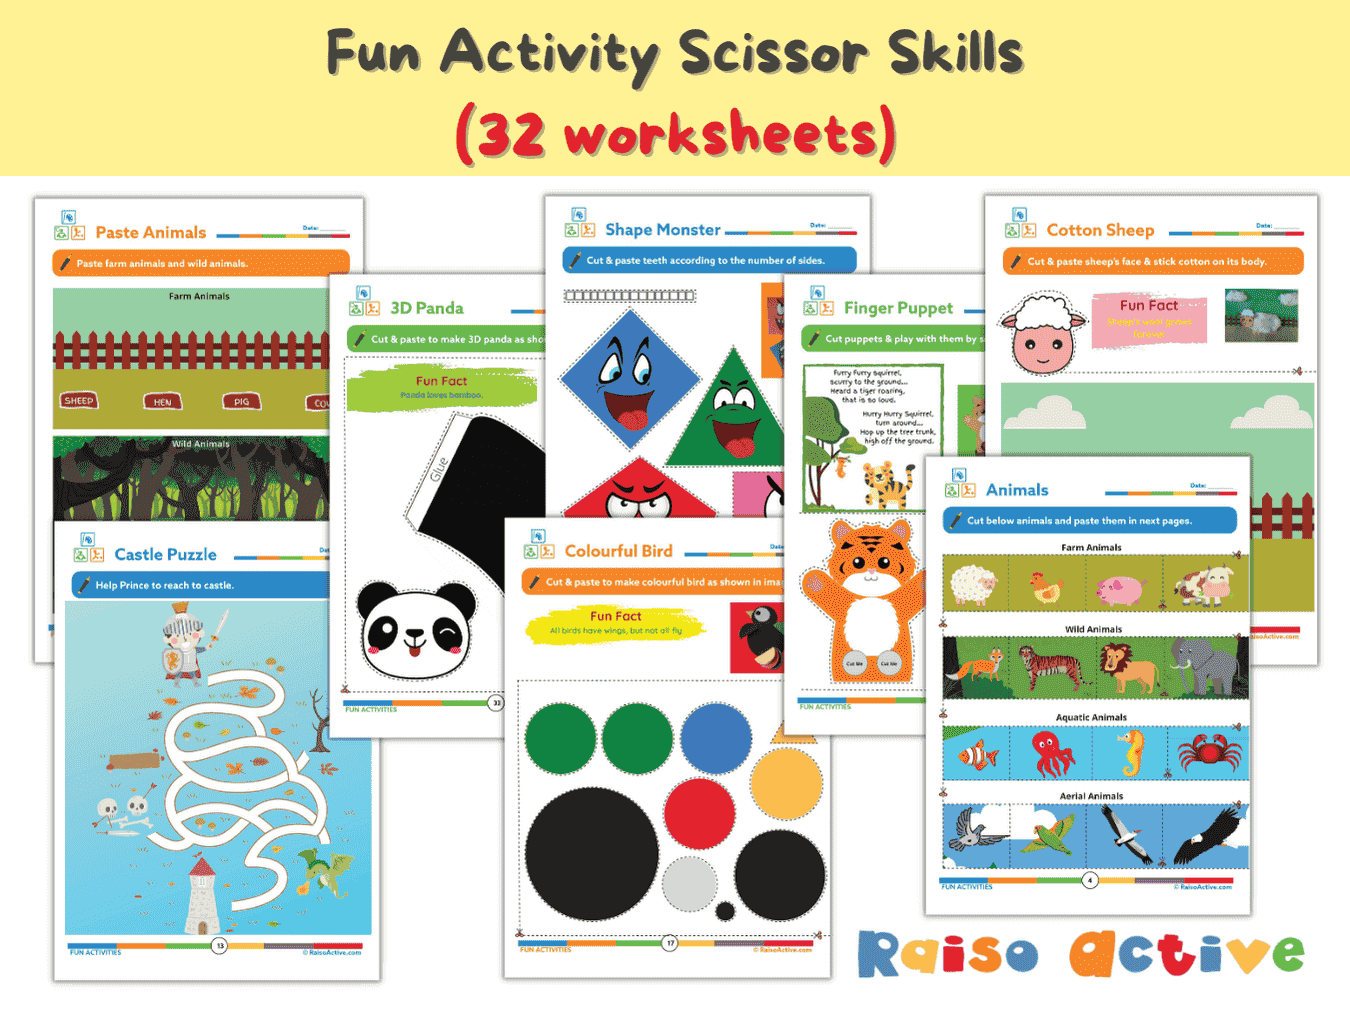
Preschool Scissor Skills Activity Book: Fine Motor & Craft Fun for Ages 3-6
Ages 3-6 · Preschool–KindergartenAges 3-6 · Nursery–Year 1Ages 3-6 · Nursery–UKGAges 3-6 · 35 pages
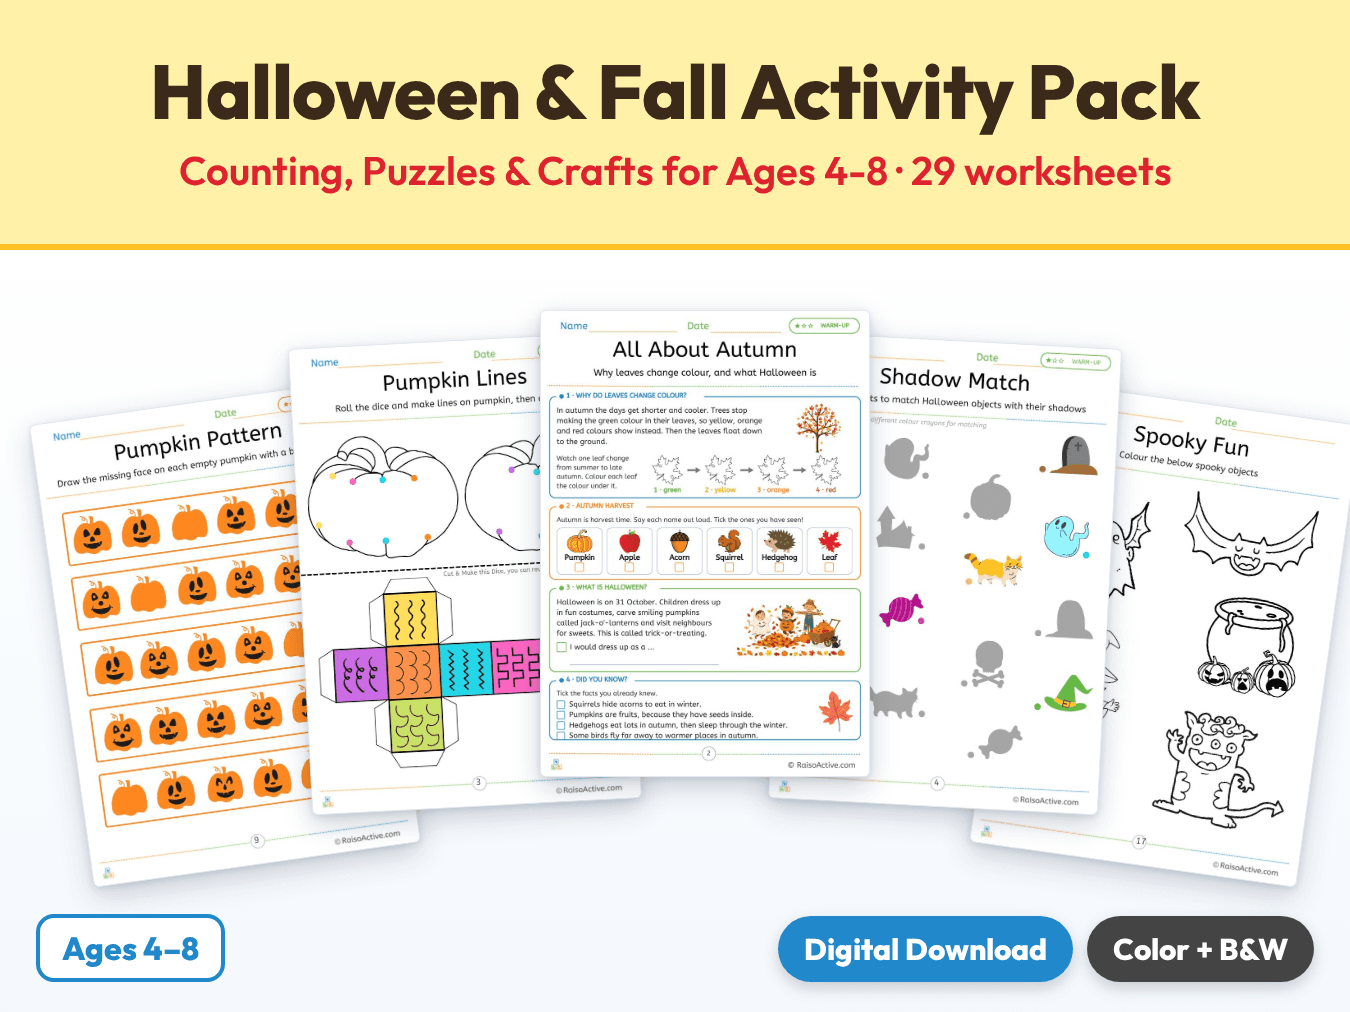
Halloween & Fall Activity Pack: Counting, Puzzles & Crafts for Ages 4-8
Ages 4-8 · Pre-K–Grade 2Ages 4-8 · Reception–Year 3Ages 4-8 · LKG–Class 2Ages 4-8 · 30 pages
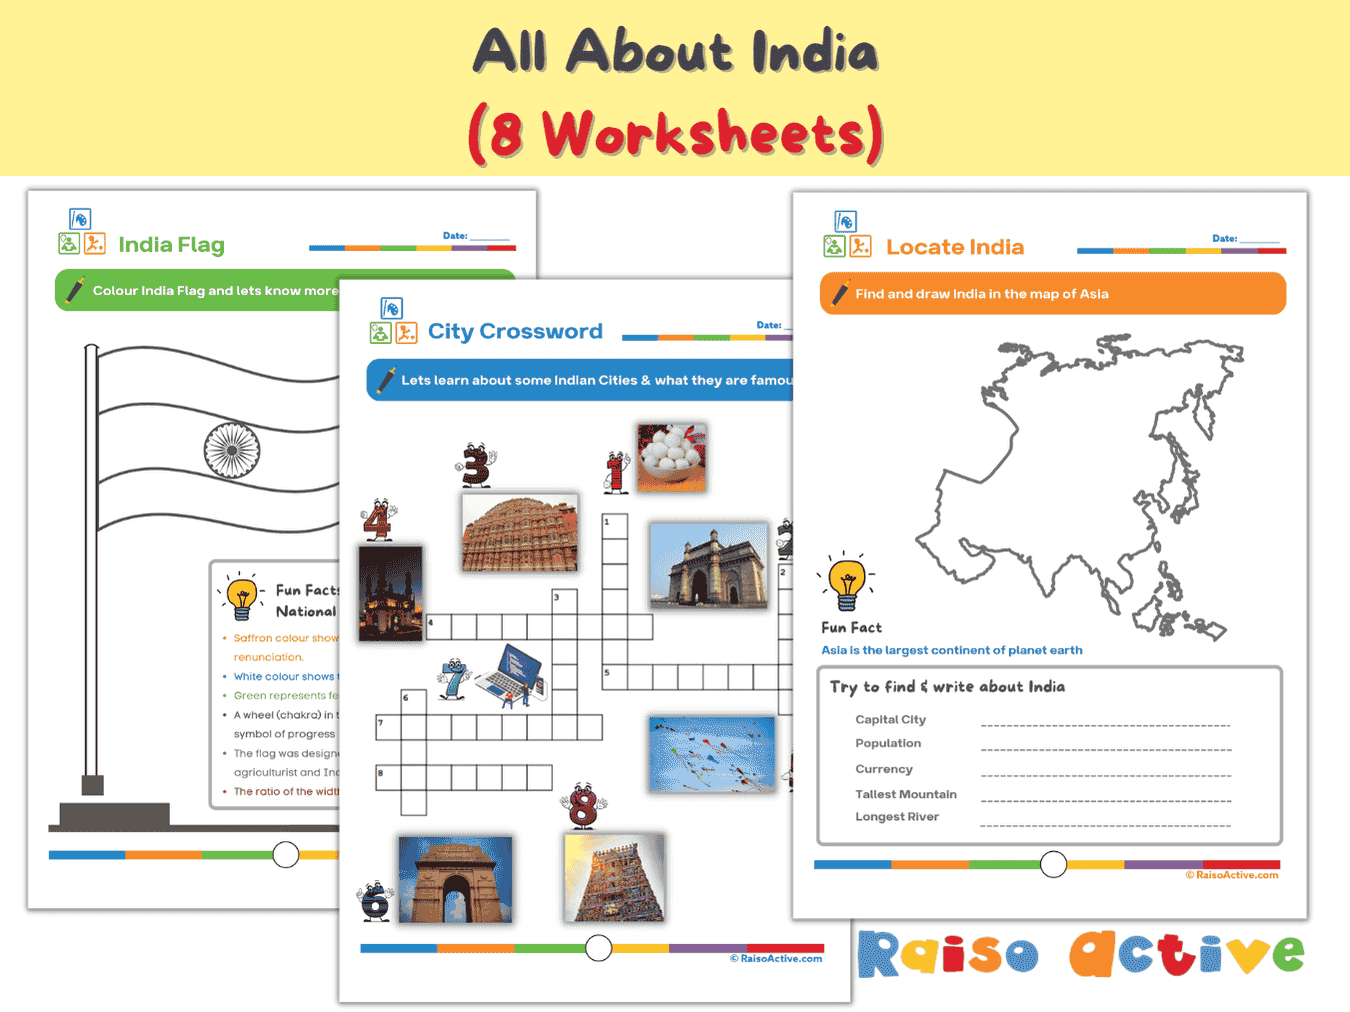
India Activity Book for Kids: Explore Geography, Culture & Symbols (Ages 5-8)
Ages 5-8 · Kindergarten–Grade 2Ages 5-8 · Year 1–Year 3Ages 5-8 · UKG–Class 2Ages 5-8 · 8 pages
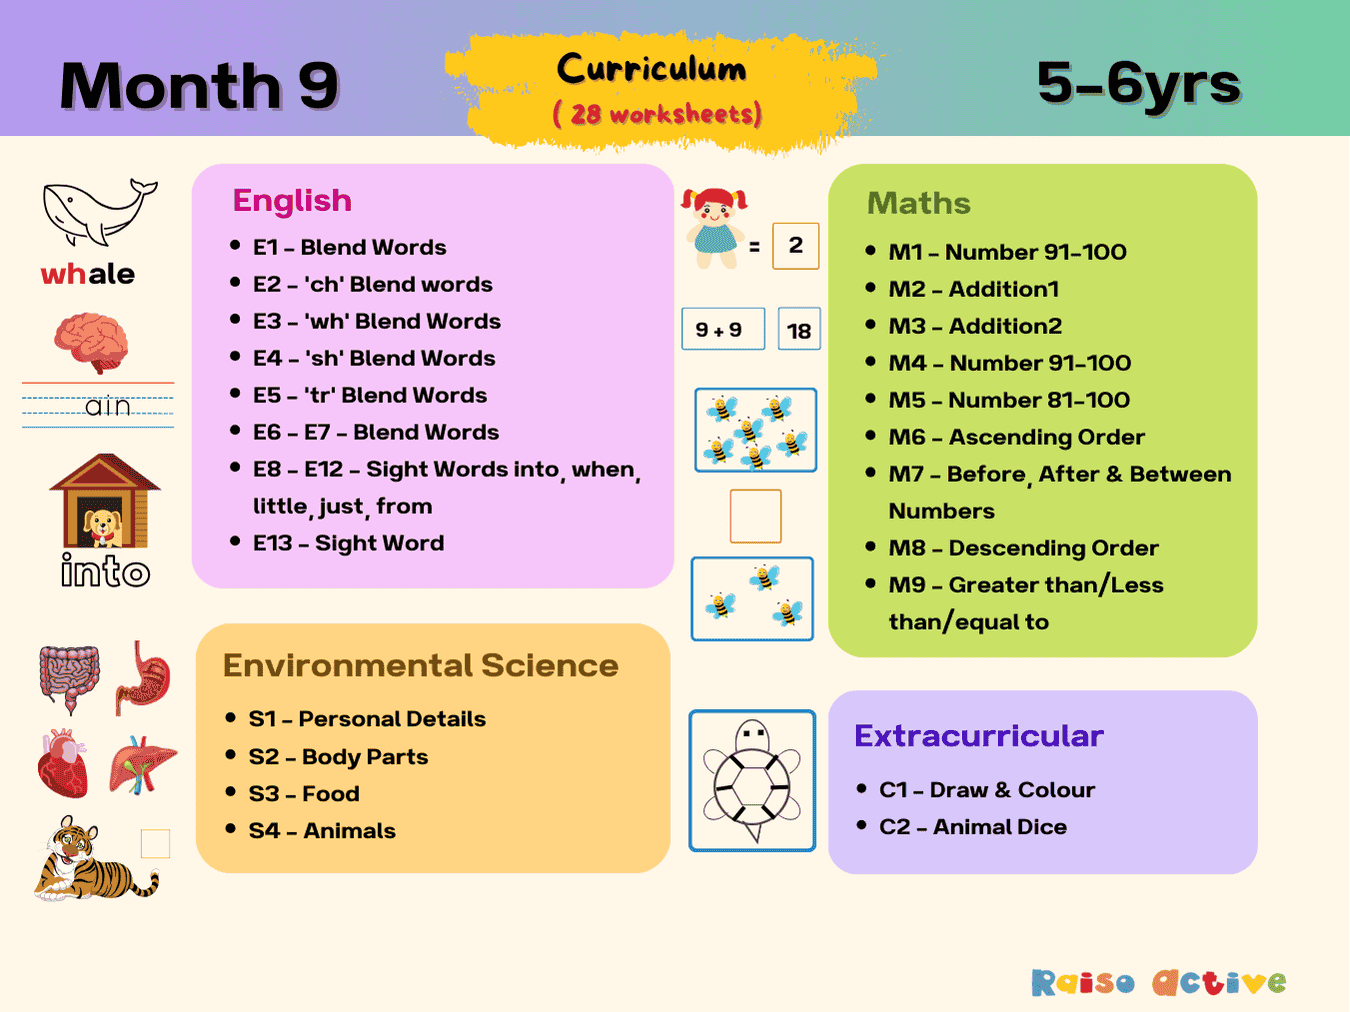
Month 9: Early Learning English Math Science | Ages 5-6
Ages 5-6 · KindergartenAges 5-6 · Year 1Ages 5-6 · UKGAges 5-6 · 31 pages
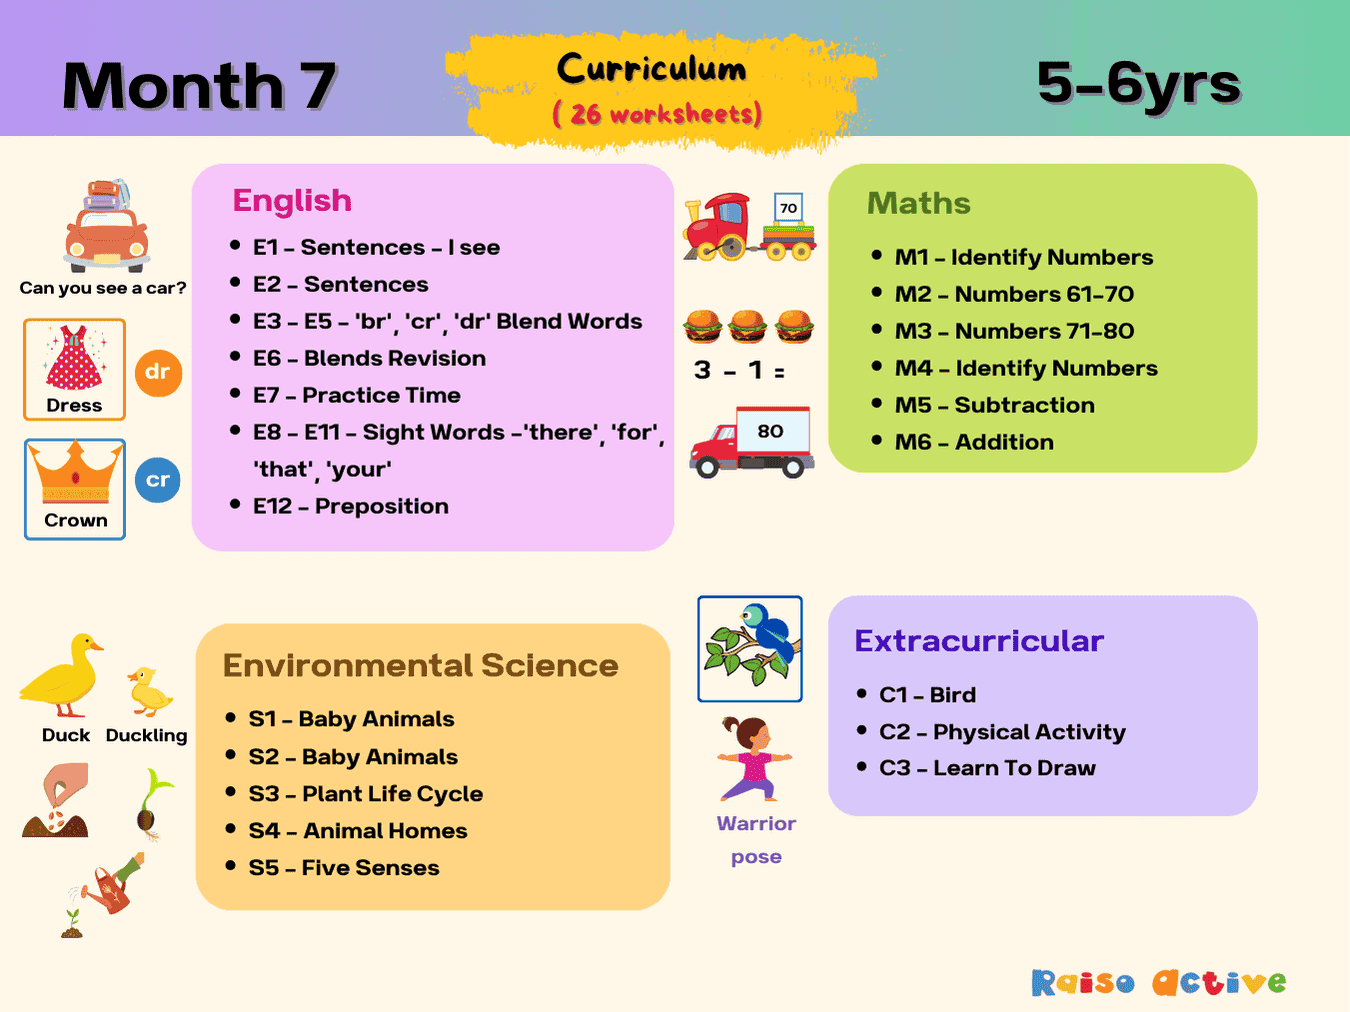
Month 7: Holistic Kindergarten Curriculum | Ages 5-6
Ages 5-6 · KindergartenAges 5-6 · Year 1Ages 5-6 · UKGAges 5-6 · 29 pages