How to Teach Cutting Skills to Your Preschooler: A Complete Guide for Parents and Teachers
Author
RaisoActive - Kids Activities and Fun Learning
Published
Updated
Reading Time
18 min read

- Most children are ready to begin using scissors between ages 2 and 3, but full cutting control develops gradually through age 6
- Pre-cutting exercises like tearing paper, punching holes, and squeezing playdough containers build the exact muscles needed for scissors
- Choosing the right scissors — training scissors, spring-loaded, or left-handed — makes a significant difference to early success
- Cutting skills are directly linked to writing readiness: both require the same hand muscles and bilateral coordination
- Safety can be taught positively and confidently — scissors do not need to be hidden away from children who are ready to learn
Why Scissors Feel Scary — And Why They Should Not
In many Indian homes, scissors are kept firmly out of reach. They live in the top drawer, in the sewing box, or on a high shelf — somewhere a curious child cannot find them. This is understandable. Scissors look dangerous, and no parent wants to imagine small fingers near sharp blades.
But here is the thing: cutting with scissors is one of the most important fine motor milestones of early childhood. It builds hand strength, develops bilateral coordination (using both hands together), trains the eyes to guide the hands, and — perhaps most importantly — it directly prepares a child's hands for writing. Children who learn to cut well tend to hold pencils better, write more comfortably, and develop stronger hand endurance.
The goal is not to keep scissors away from children forever. The goal is to introduce them at the right age, with the right tools, and with the right guidance. When that happens, cutting becomes one of the most satisfying skills a preschooler can develop — and one they will use in craft projects, school activities, and everyday life for years to come.
Is Your Child Ready? Signs of Cutting Readiness
Developmental readiness matters far more than age alone. Some children are ready to begin at 2.5 years; others are not ready until 3.5 or 4. Before introducing scissors, look for the following signs that your child has the physical and cognitive foundations in place.
- Can hold a crayon or pencil with some control — If a child can grip a fat crayon and make intentional marks, their hand is likely strong enough to begin trying scissors
- Uses both hands together in play — Watch whether your child tears paper, opens jars, or claps. If both hands work together, bilateral coordination is developing well
- Can squeeze and release repeatedly — Ask the child to squeeze a sponge or a stress ball several times in a row. Sustained squeezing is exactly what cutting requires
- Shows interest in cutting — Many children ask to use scissors after watching a parent or older sibling. Interest is a great sign of readiness
- Can follow simple safety instructions — Before handing over scissors, a child should understand 'stop', 'put down', and 'walk, don't run'
- Has adequate sitting posture — Cutting requires a stable, upright sitting position. If a child slumps or cannot sit at a table for more than a few minutes, work on seated play activities first
If your child ticks most of these boxes, they are likely ready to begin. If not, spend a few more weeks on pre-cutting activities (detailed below) and try again.
There is no rush. A child who starts scissors at age 4 with strong hand muscles will progress faster than one who starts at age 2 with underdeveloped muscles.
Choosing the Right Scissors: A Guide for Indian Parents
Walk into any stationery shop in India and you will find scissors marketed for children — but not all of them are actually suitable for young learners. Here is what to look for, and what to avoid.
- **Loop or training scissors (ages 2-3)** — These have a spring mechanism that opens the scissors automatically after each cut. Ideal for children who are just beginning, as they only need to focus on squeezing, not on opening. Look for these at craft stores or order online (brands like Fiskars have options available in India)
- **Squeeze scissors (ages 2-3)** — The child squeezes two handles together to cut. Very safe and great for first attempts. Easy to find at educational toy shops
- **Rounded-tip child scissors (ages 3-5)** — The most common type. Blades cut paper effectively but the blunt tip protects fingers. Check that the blades actually cut — flimsy plastic scissors that only 'pretend' to cut frustrate children and teach nothing
- **Left-handed scissors (ages 3 and up)** — Critical if your child is left-handed. Standard scissors used in the left hand create an outward twist that makes cutting nearly impossible. Left-handed scissors are available through online retailers in India. Do not skip this — it makes an enormous difference
- **Spring-back scissors (ages 3-5)** — Similar to training scissors but with a more standard appearance. The spring helps open the blades between cuts, reducing hand fatigue for beginners
- Avoid scissors that do not actually cut paper — children need to feel real resistance and real results or they will lose interest and confidence
- Avoid adult-sized scissors for children under 5 — the span is too wide for small hands and creates compensatory grip patterns
- Avoid metal scissors with pointed tips for children under 6 — rounded tips provide the same cutting ability with far better safety
- Avoid scissors with loose or wobbly blades — inconsistent cutting action makes the task much harder to learn
Pre-Cutting Exercises: Building the Muscles Before the Scissors
One of the best things you can do before introducing scissors is to build the specific hand muscles cutting requires. These pre-cutting activities use materials you likely already have at home and can be done as part of regular play.
- **Tearing paper** — Give your child old newspapers, old magazines, or coloured paper and let them tear strips and shapes. Tearing requires a strong pincer grip and the same bilateral coordination as cutting. It is the best precursor activity of all
- **Hole punching** — A standard hole punch is fascinating for young children and requires exactly the squeeze-and-release action that scissors demand. Let them punch holes along the edge of paper for a satisfying activity
- **Opening and closing playdough containers** — The lids on airtight dabbas (containers) require a strong pinch-and-twist action. Let children practise opening their own playdough containers before play
- **Squeezing a sponge or stress ball** — Fill a tub with water and let children wring out a wet sponge repeatedly. Or keep a small stress ball available for squeezing during quiet time
- **Clothes peg pinching** — Pinching wooden or plastic clothes pegs onto a cardboard strip directly trains the finger muscles used in scissors. Make it a sorting game with coloured pegs
- **Cutting playdough with a plastic knife** — This is a fantastic bridge activity. The child uses the same bilateral hand pattern as scissors (one hand holds, one hand cuts) without using actual scissors
Research in occupational therapy consistently shows that pre-cutting activities like tearing, punching, and squeezing develop the hand strength and coordination needed for scissors faster than simply practising with scissors alone. Building the foundation first means children progress through cutting stages more quickly and with less frustration.
Source: American Occupational Therapy Association
The Cutting Progression: From Snipping to Curves
Cutting skill develops in stages, and trying to skip ahead will only frustrate your child. The progression below is the one recommended by occupational therapists and used in most early childhood programmes. Move to the next stage only when the current one feels comfortable and confident — not rushed.
The 6-Stage Cutting Progression
Stage 1: Snipping (Ages 2-3)
The child makes single, short snips along the edge of a piece of paper. There is no following a line yet — just the satisfying action of cutting and the feeling of the paper separating. Use wide strips of paper (at least 4 cm wide). Celebrate each snip. This is the entire goal at this stage.
Stage 2: Cutting Across a Strip (Ages 3-3.5)
Now the child cuts all the way across a strip of paper, making two pieces. The strip should be narrow enough (about 2-3 cm) that only two or three snips are needed to get all the way through. This develops sustained effort without overwhelming small hands.
Stage 3: Cutting Along a Straight Line (Ages 3.5-4)
Draw thick, bold straight lines on paper and ask the child to cut along them. Start with lines that go from the edge of the paper straight across — there is no turning required. A marker line at least 1 cm wide gives the child a clear visual target. Gradually make the line thinner as accuracy improves.
Stage 4: Cutting Along Diagonal and Angled Lines (Ages 4-4.5)
Diagonal lines require the child to rotate the paper as they cut — a new bilateral coordination challenge. Teach them to use the non-cutting hand to turn the paper, not to turn the scissors. This is a key insight that improves cutting accuracy enormously.
Stage 5: Cutting Simple Shapes (Ages 4.5-5)
Squares, rectangles, and large triangles are the starting shapes. The corners require the child to stop, reposition, and start again in a new direction. This is a real milestone in scissor control. Use thick outlines and simple craft projects (like making a paper collage) to make this stage motivating.
Stage 6: Cutting Curves and Circles (Ages 5-5.5)
Curves require continuous, smooth paper rotation as the child cuts — the most complex motor coordination in this progression. Start with large, gentle curves before moving to full circles. Cutting out circles is genuinely difficult even for some 5-year-olds; be patient and make it into a craft project so the motivation stays high.
Stage 7: Cutting Complex Outlines (Ages 5.5-6)
By age 6, most children can cut along detailed outlines, cut out pictures from magazines, and cut simple shapes for craft projects with reasonable accuracy. This is the culmination of the progression. Continue offering varied cutting projects to maintain skill and build endurance.
Teaching the Correct Scissor Hold
Before a child makes their first cut, spend a few minutes teaching the correct scissor grip. Getting this right from the beginning prevents bad habits that are hard to undo later.
- Thumbs up position — The thumb goes in the top loop of the scissors, fingers go in the bottom loop. The thumb should point upward, not sideways. A child who holds the scissors with the thumb sideways will struggle to cut straight lines
- Only two fingers in the bottom loop — For most children, the index finger and middle finger go in the bottom loop. Some prefer just the index finger. Either is fine; three fingers crammed in is not
- Elbow close to the body — The cutting arm should not fly out to the side. Elbow stays close, forearm roughly parallel to the table. This gives far better control
- Non-cutting hand holds the paper — This sounds obvious but young children often let the paper flap around. Teach them to grip the paper firmly with their non-cutting hand about 3-4 cm ahead of where the scissors are cutting
- Rotate the paper, not the scissors — When following a curved line, the non-cutting hand slowly turns the paper while the scissors continue cutting. This is the single most useful cutting technique to teach
- Sit beside your child (not across from them) so they can mirror your hand position exactly. Open and close the scissors together several times before touching any paper. Say 'open, close, open, close' as you do it — the rhythm helps build the motor pattern in their brain before the task gets complicated.
- If your child finds the thumb loop uncomfortable, do not force it. Some children succeed with the thumb loop, others with a modified grip where the thumb rests on top. Correct function (actual cutting) matters more than textbook form at this early stage.
The golden rule: rotate the paper, not the scissors. Teaching children this technique early will improve their cutting accuracy for every project they do from this point forward.
How Cutting Connects to Writing Readiness
It might seem surprising that cutting with scissors has anything to do with learning to write — but occupational therapists consider scissor skills one of the strongest predictors of handwriting readiness. Here is why:
- Same hand muscles — The intrinsic muscles of the hand that control the open-close action of scissors are the same muscles that control precise finger movements during writing
- Bilateral coordination — Cutting requires both hands to work together (one cutting, one holding and rotating) — exactly the bilateral coordination needed when one hand writes and the other stabilises the page
- Hand-eye coordination — Following a line with scissors trains the eyes to guide the hands in real time — the same skill used when forming letters along a line
- Hand endurance — Sustained cutting sessions build the hand endurance needed to write for longer periods without fatigue
- Thumb opposition — The scissor grip develops the thumb-in-opposition position that is essential for a functional pencil grip
In most school curricula in India — whether following the CBSE, ICSE, or state board frameworks — fine motor readiness activities are recommended before formal handwriting instruction begins. Cutting is consistently listed among the core readiness activities. Teachers who see a child struggling with writing will often prescribe cutting practice first, not more handwriting practice.
Studies of early childhood occupational therapy programmes consistently find that scissor skill development is one of the strongest predictors of handwriting readiness. Programmes that include regular cutting practice report significant improvements in pencil grip, letter formation, and writing endurance compared to programmes focusing on writing practice alone.
Source: Journal of Occupational Therapy, Schools, and Early Intervention
Fun Cutting Projects for Indian Preschoolers
Drilling along straight lines on plain paper gets boring quickly. The best way to build cutting skills is through projects that feel exciting and meaningful to the child. Here are ideas that work beautifully in Indian homes and classrooms:
- Paper garlands for festivals — Around Diwali, Onam, or Pongal, ask children to cut strips of coloured paper to make garlands. Even simple snipping produces beautiful results and feels purposeful
- Cutting old magazines and newspapers — Indian newspapers are full of colourful pictures. Let children cut out pictures of animals, food, or vehicles and glue them onto a sheet to make a collage
- Making paper flowers — Stack several squares of paper, fold accordion-style, and have children cut fringe along the edges. When opened, they make beautiful paper flowers perfect for any occasion
- Cutting fruit and vegetable shapes — Draw simple outlines of mangoes, bananas, or brinjals on coloured paper and ask children to cut them out. The recognisable shapes make the activity more engaging
- Fringe cutting — Draw a line about 3 cm from the edge of a paper and ask children to cut fringe up to the line. This is excellent snipping practice and produces a tactile, satisfying result
- Straw snipping — Cut coloured straws into small pieces using scissors. The thicker material offers pleasant resistance, the pieces are safe, and the results (coloured rings) can be threaded onto string for jewellery
- Cutting playdough rolls — Roll playdough into long snakes and let children snip them into pieces. The soft material is excellent for beginners as it requires less force than paper
- Before buying activity sheets, gather old exam papers, used A4 printouts, old birthday cards, and outdated calendars. Draw your own cutting lines — straight, wavy, zigzag, or circular — with a thick marker. These homemade cutting sheets are just as effective as purchased ones and cost nothing.
- Fabric offcuts from a tailor or craft store offer wonderful cutting practice: they require a little more force than paper, so they build hand strength faster. Always use proper fabric scissors rather than paper scissors for fabric to avoid frustrating resistance.
- +Start with pre-cutting activities (tearing, punching) before introducing scissors
- +Choose spring-loaded or loop scissors for children who are just beginning
- +Use left-handed scissors for left-handed children — always
- +Teach paper rotation for curves, not scissors rotation
- +Supervise consistently but allow children to struggle productively
- +Make cutting purposeful — projects, not just drill sheets
- +Praise effort and improvement, not perfection
- -Introducing scissors before the child can grip and squeeze a sponge repeatedly
- -Using flimsy plastic scissors that do not actually cut paper
- -Forcing left-handed children to use standard right-handed scissors
- -Holding the child's hand to cut for them — this does not build their skill
- -Keeping scissors locked away until formal school age
- -Expecting straight-line cutting before the child has mastered snipping
- -Comparing your child's progress to older siblings or cousins
Scissor Safety Rules for Young Children
Safety rules should be taught positively and consistently — not as a list of scary warnings, but as the confident, competent behaviour of someone who is trusted with scissors. Keep the language simple and repeat it every time scissors come out.
- Scissors are for paper (and playdough and straws) only — Not for hair, fabric, clothing, fingers, or anything else. Be specific about what scissors cut so children do not have to guess
- Walk with scissors closed, pointed down — If a child needs to carry scissors across the room, teach them to hold the blades closed with one hand and walk slowly
- Cut away from your body and other people — The scissors should move away from the body, never toward it
- Put scissors down before talking or looking away — Children lose focus mid-cut. Teach them to put the scissors on the table before turning to speak to someone
- Always ask an adult before using scissors — For children under 5, scissors are a supervised activity. For children aged 5 and above, you can gradually extend trust, but the habit of asking is valuable
- In many Indian homes, scissors are kept in places children cannot reach — sewing boxes, high shelves, locked drawers. This makes sense for general safety, but consider keeping one pair of child-safe scissors in an accessible, designated spot once your child is ready. Knowing where their scissors are (and that they belong to them) helps children feel responsible rather than sneaky.
- Avoid keeping scissors near the kitchen, where sharp knives are also stored and the activity around them is less controlled. A craft drawer or activity shelf in the child's room or a study area is ideal.
Children who are taught clear, consistent safety rules from the very first day tend to be far safer with scissors than children who were kept away from them and then handed a pair without guidance.
Think of scissors the way you think of kitchen tasks: supervised, taught step by step, with clear rules — and over time, trusted independently.
Frequently Asked Questions About Teaching Cutting Skills
At what age should I introduce scissors to my child?
My child is left-handed. Do I need special scissors?
My child gets frustrated when the scissors do not cut properly. What should I do?
How long should a cutting practice session last?
My 5-year-old has started school and the teacher says his cutting is behind. What can I do at home?
Can cutting activities really help with writing readiness?
Free worksheets for this topic
Browse all worksheets
Pumpkin Lines Dice Game: Halloween Pre-Writing Worksheet
Ages 4-8 · Pre-K–Grade 2Ages 4-8 · Reception–Year 3Ages 4-8 · LKG–Class 2Ages 4-8
Children practise wavy, zigzag and looped pre-writing lines while playing a simple dice game.
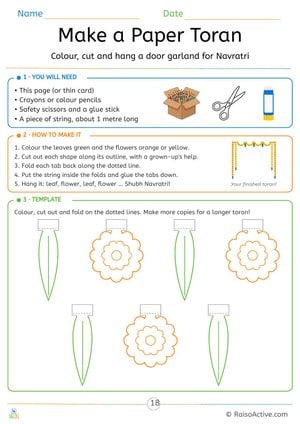
Make a Paper Toran: Navratri Craft Template
Ages 4-6 · Pre-K–KindergartenAges 4-6 · Reception–Year 1Ages 4-6 · LKG–UKGAges 4-6
Children follow step-by-step instructions to colour, cut, fold and glue a festival decoration, building scissor skills and fine motor control.
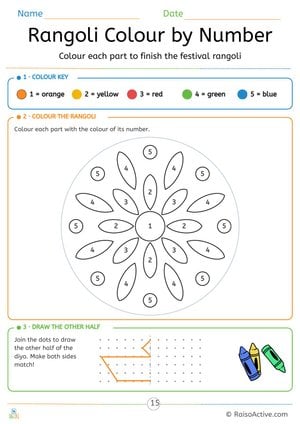
Navratri Rangoli Colour by Number and Symmetry Diya
Ages 4-6 · Pre-K–KindergartenAges 4-6 · Reception–Year 1Ages 4-6 · LKG–UKGAges 4-6
Children match numbers to colours using a key, colour a rangoli pattern carefully and draw the other half of a shape so both sides match.

Navratri Nine Colours Colouring Page: Colour the Garba Dancers
Ages 4-6 · Pre-K–KindergartenAges 4-6 · Reception–Year 1Ages 4-6 · LKG–UKGAges 4-6
Children learn the colour linked with each of the nine days of Navratri 2026 and practise colouring inside the lines.
Written by
Hemsweta Jain · Teacher Cheena
MBA and Early Childhood Educator, teaching since 2014 · Founder of RaisoActive, Mumbai
Published · Last reviewed
Related Resources
Printable Resources(10)
View all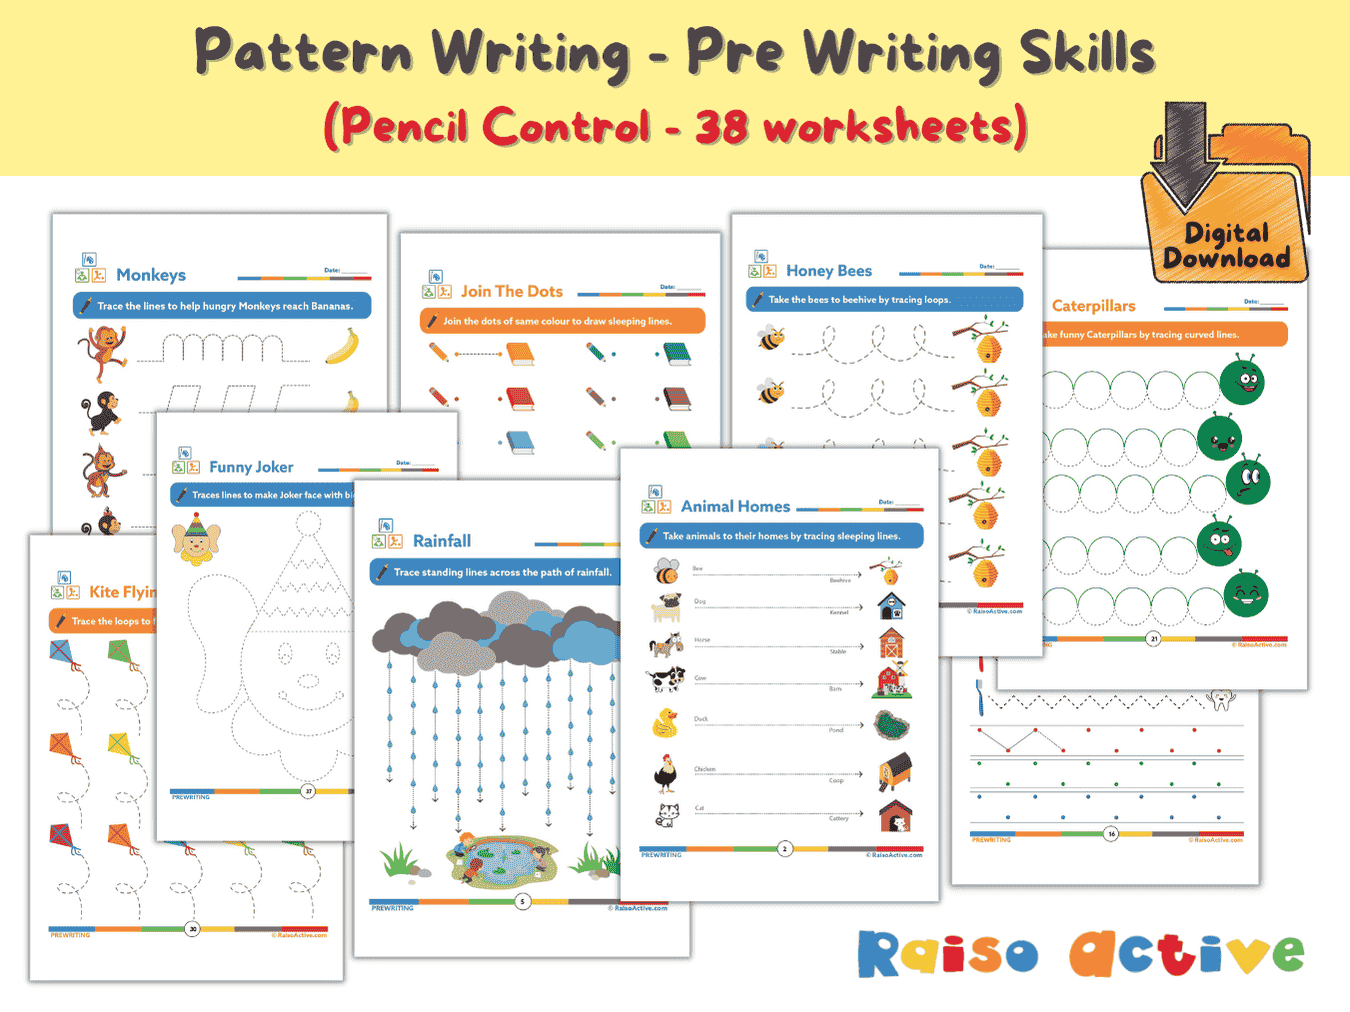

Pattern Writing Pre-writing Skills Activity Book for 3-4 Year Olds
Ages 3-4 · PreschoolAges 3-4 · NurseryAges 3-4 · 44 pages
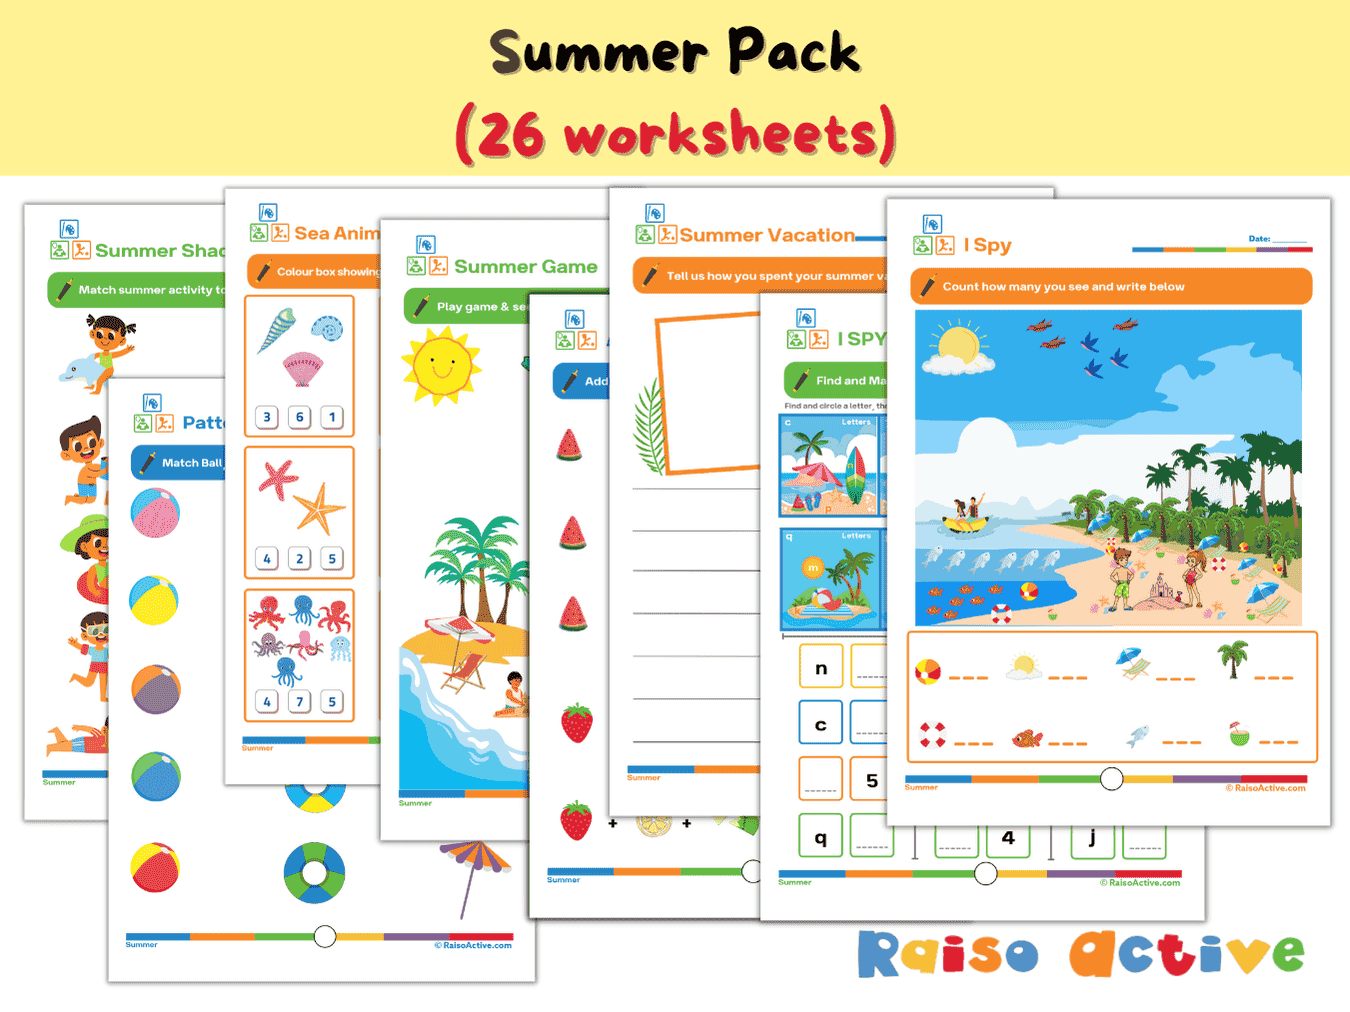

Summer Activity Pack: Math, Literacy, Puzzles & More for Preschool & Kindergarten
Ages 3-7 · Preschool–Grade 1Ages 3-7 · Nursery–Year 2Ages 3-7 · Nursery–Class 1Ages 3-7 · 26 pages
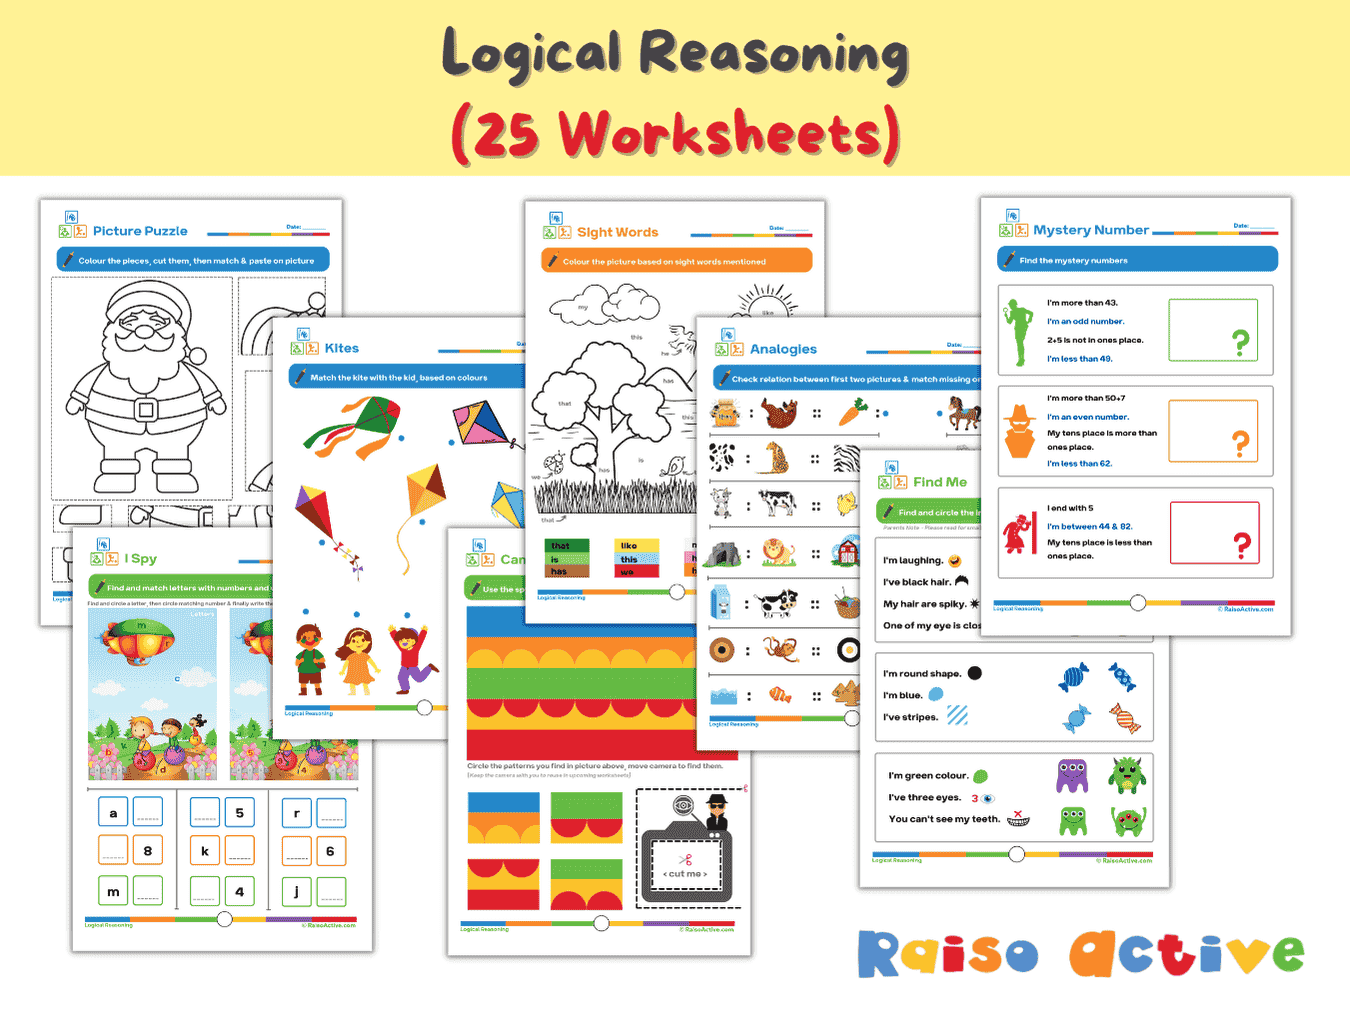

Logical Reasoning Activity Book for Preschool & Kindergarten | Patterns, Puzzles & Analogies
Ages 4-7 · Pre-K–Grade 1Ages 4-7 · Reception–Year 2Ages 4-7 · LKG–Class 1Ages 4-7 · 26 pages
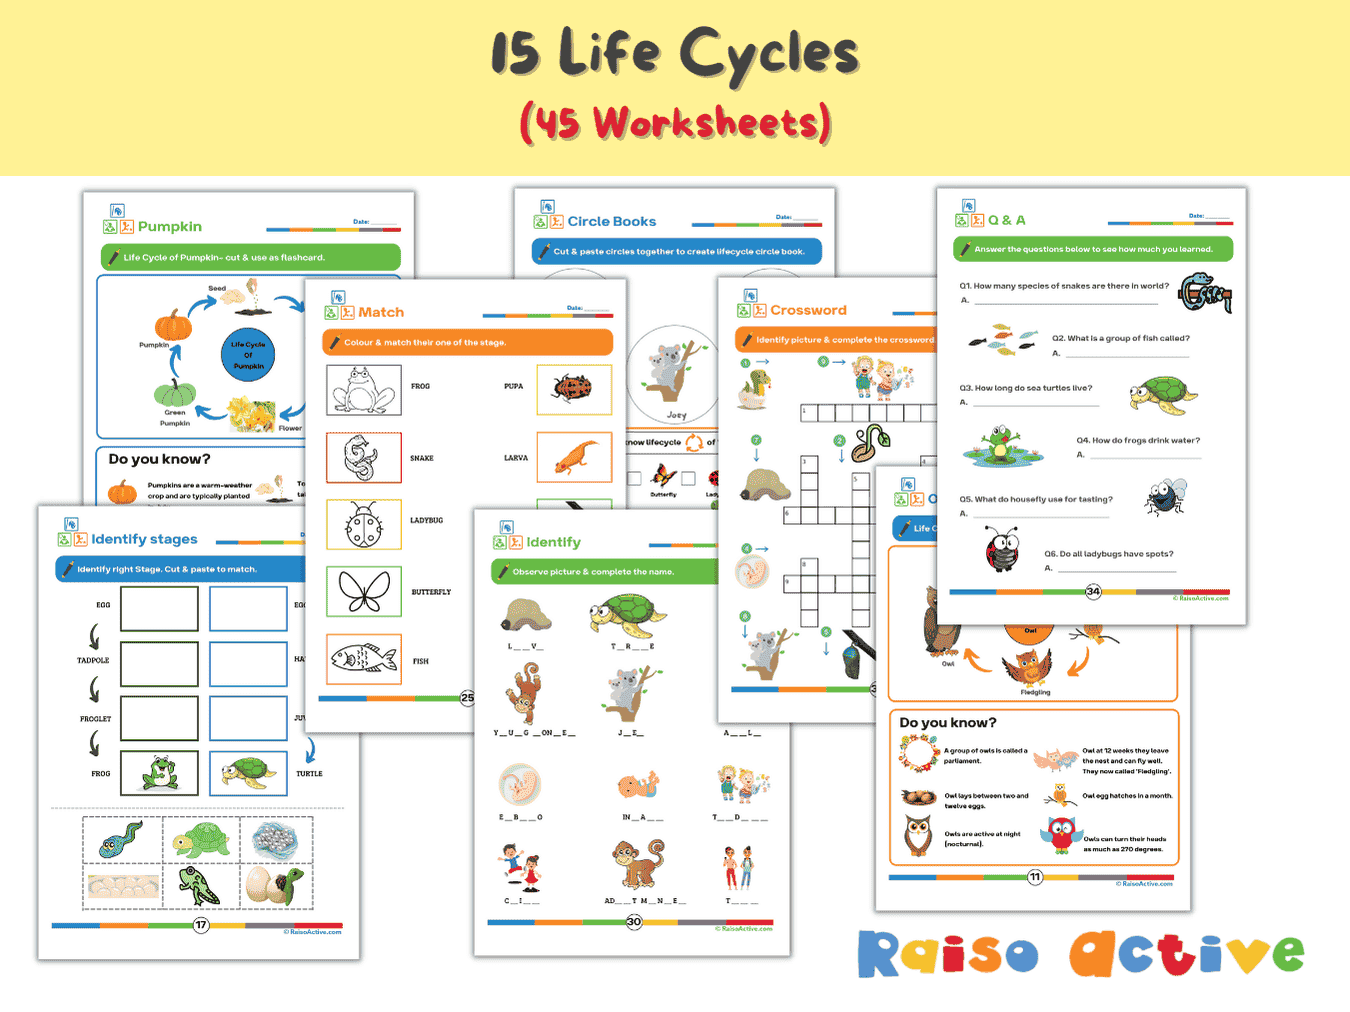

Lifecycles Activity Book & Flashcards for Preschool & Early Elementary
Ages 3-8 · Preschool–Grade 2Ages 3-8 · Nursery–Year 3Ages 3-8 · Nursery–Class 2Ages 3-8 · 46 pages
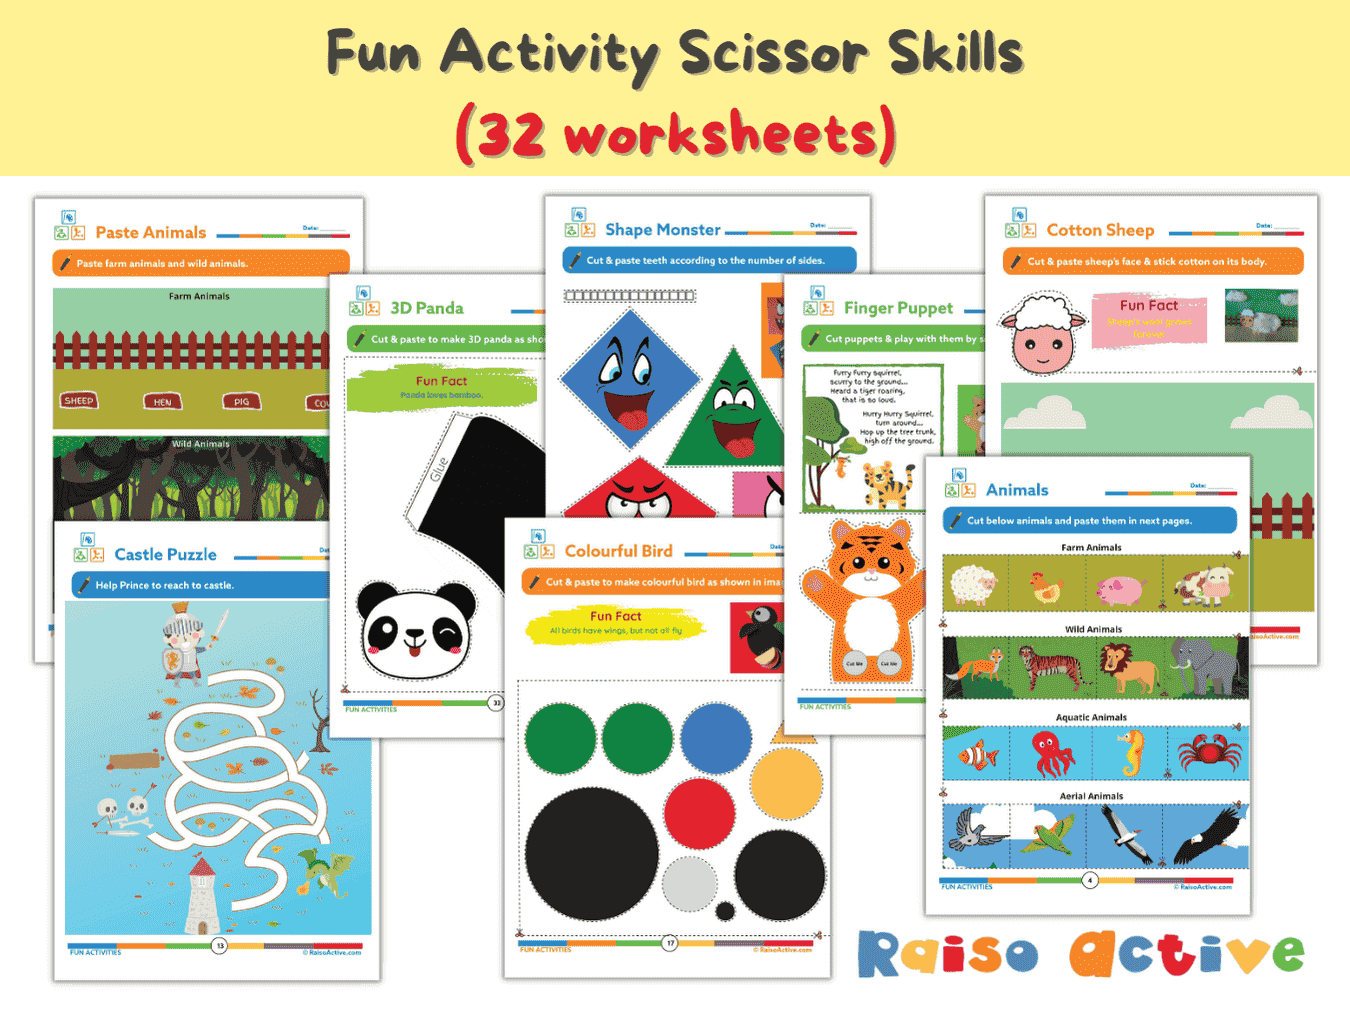
Preschool Scissor Skills Activity Book: Fine Motor & Craft Fun for Ages 3-6
Ages 3-6 · Preschool–KindergartenAges 3-6 · Nursery–Year 1Ages 3-6 · Nursery–UKGAges 3-6 · 35 pages
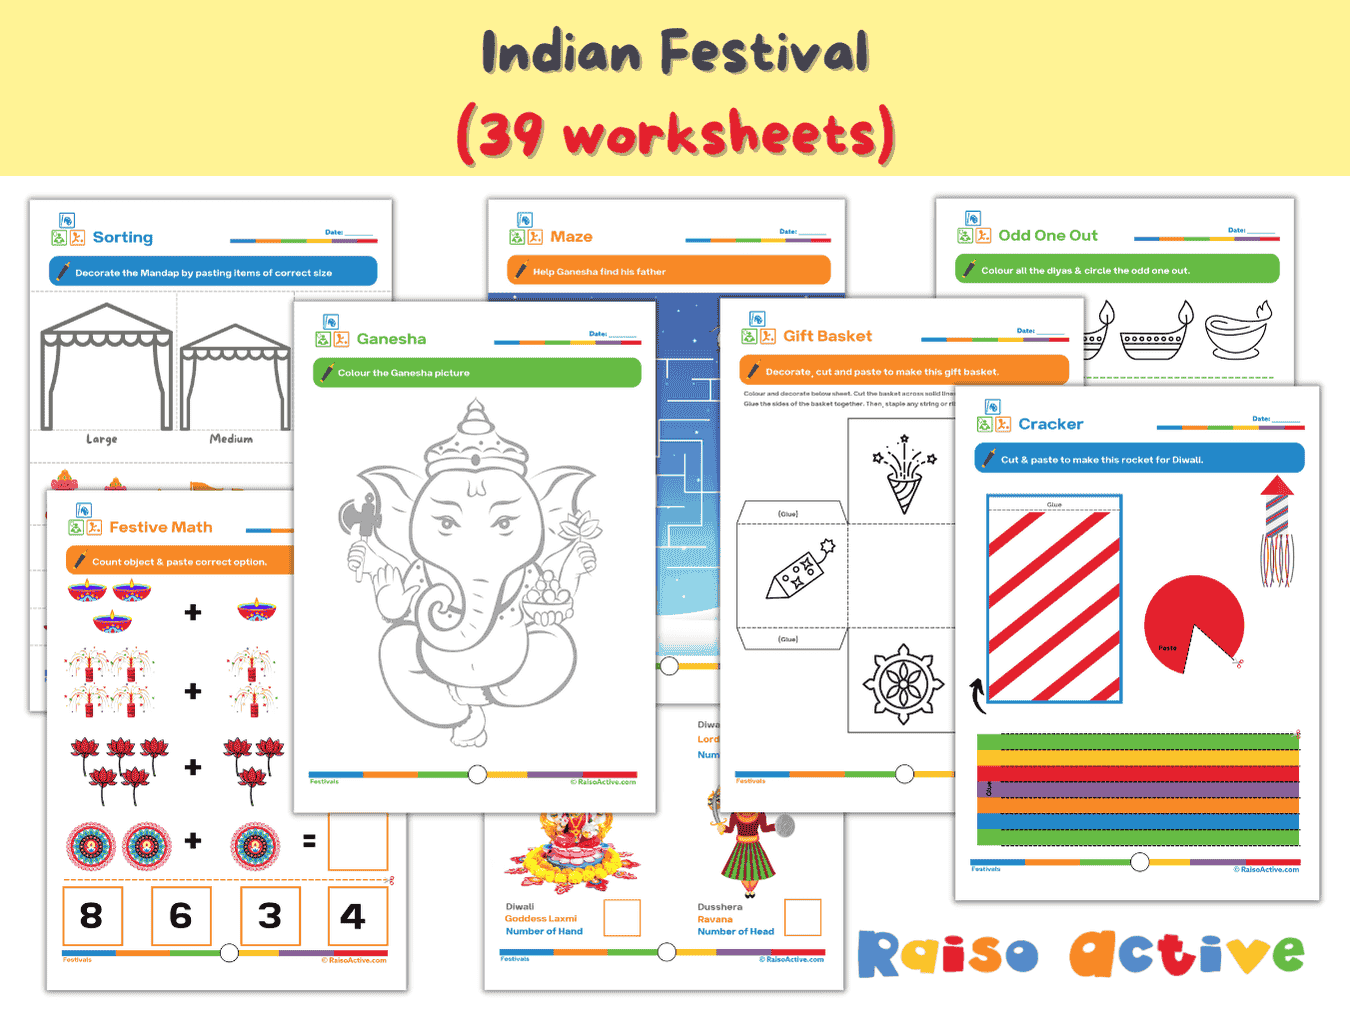
Festivals & Cultural Diversity Activity Book for Kids (Ages 4-8)
Ages 4-8 · Pre-K–Grade 2Ages 4-8 · Reception–Year 3Ages 4-8 · LKG–Class 2Ages 4-8 · 30 pages
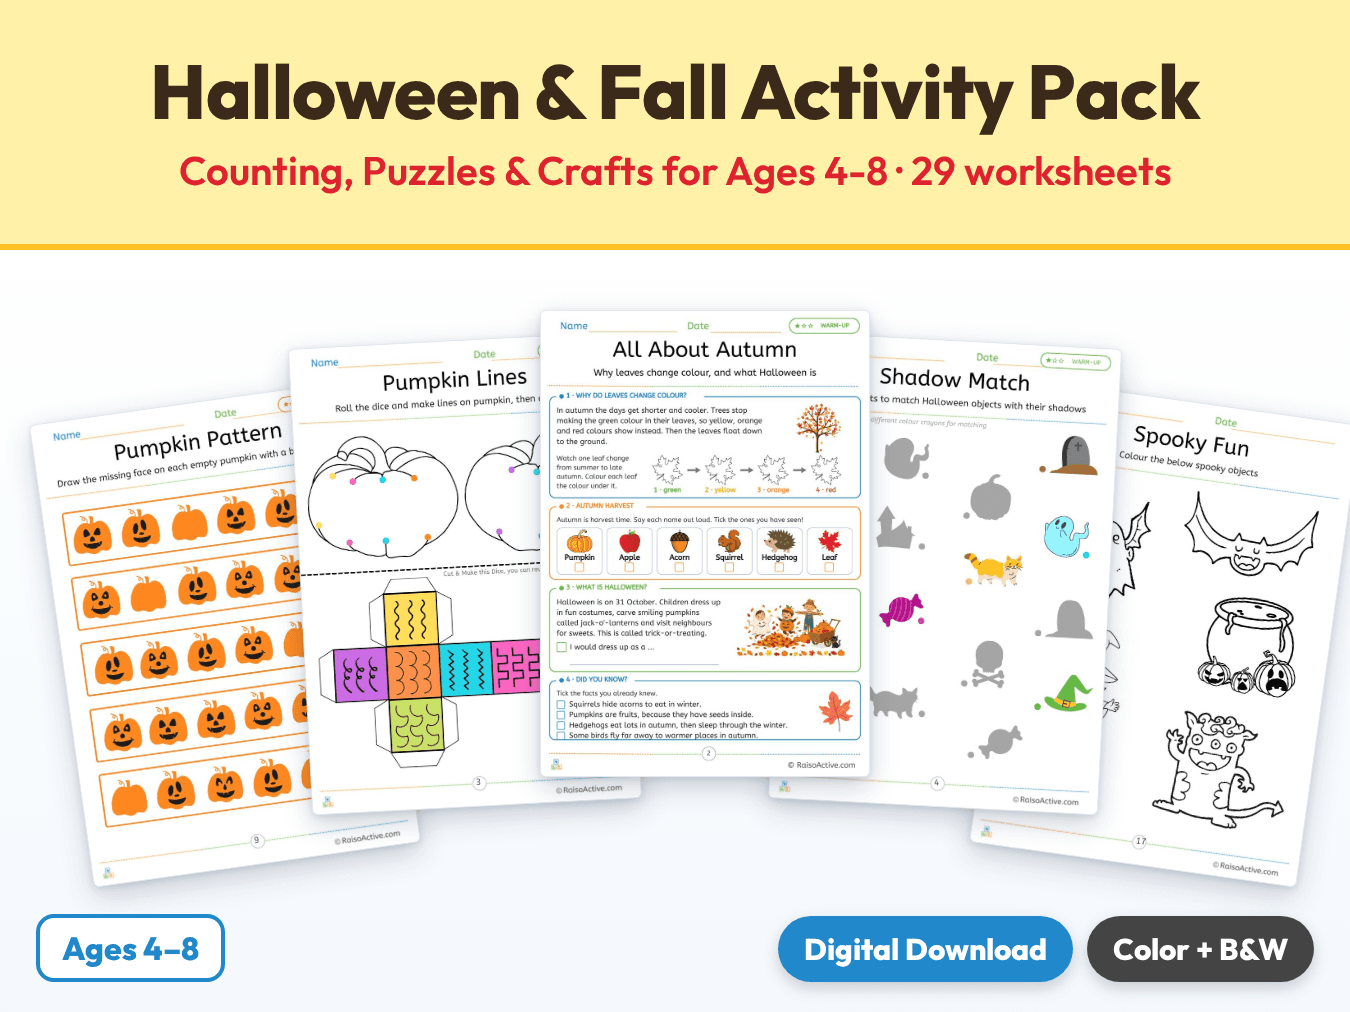
Halloween & Fall Activity Pack: Counting, Puzzles & Crafts for Ages 4-8
Ages 4-8 · Pre-K–Grade 2Ages 4-8 · Reception–Year 3Ages 4-8 · LKG–Class 2Ages 4-8 · 30 pages
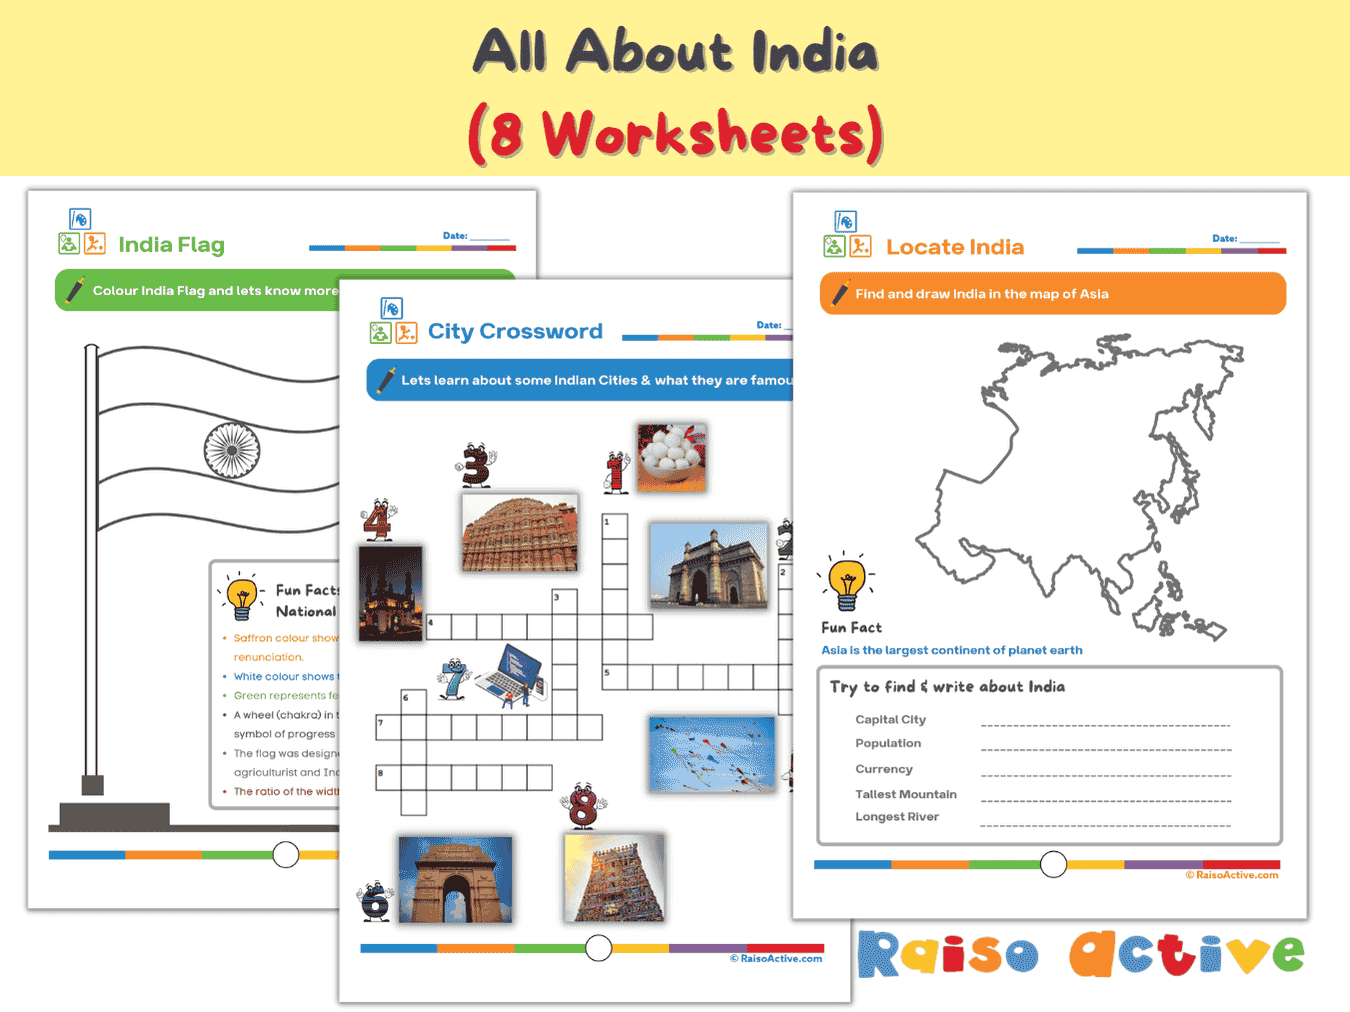
India Activity Book for Kids: Explore Geography, Culture & Symbols (Ages 5-8)
Ages 5-8 · Kindergarten–Grade 2Ages 5-8 · Year 1–Year 3Ages 5-8 · UKG–Class 2Ages 5-8 · 8 pages
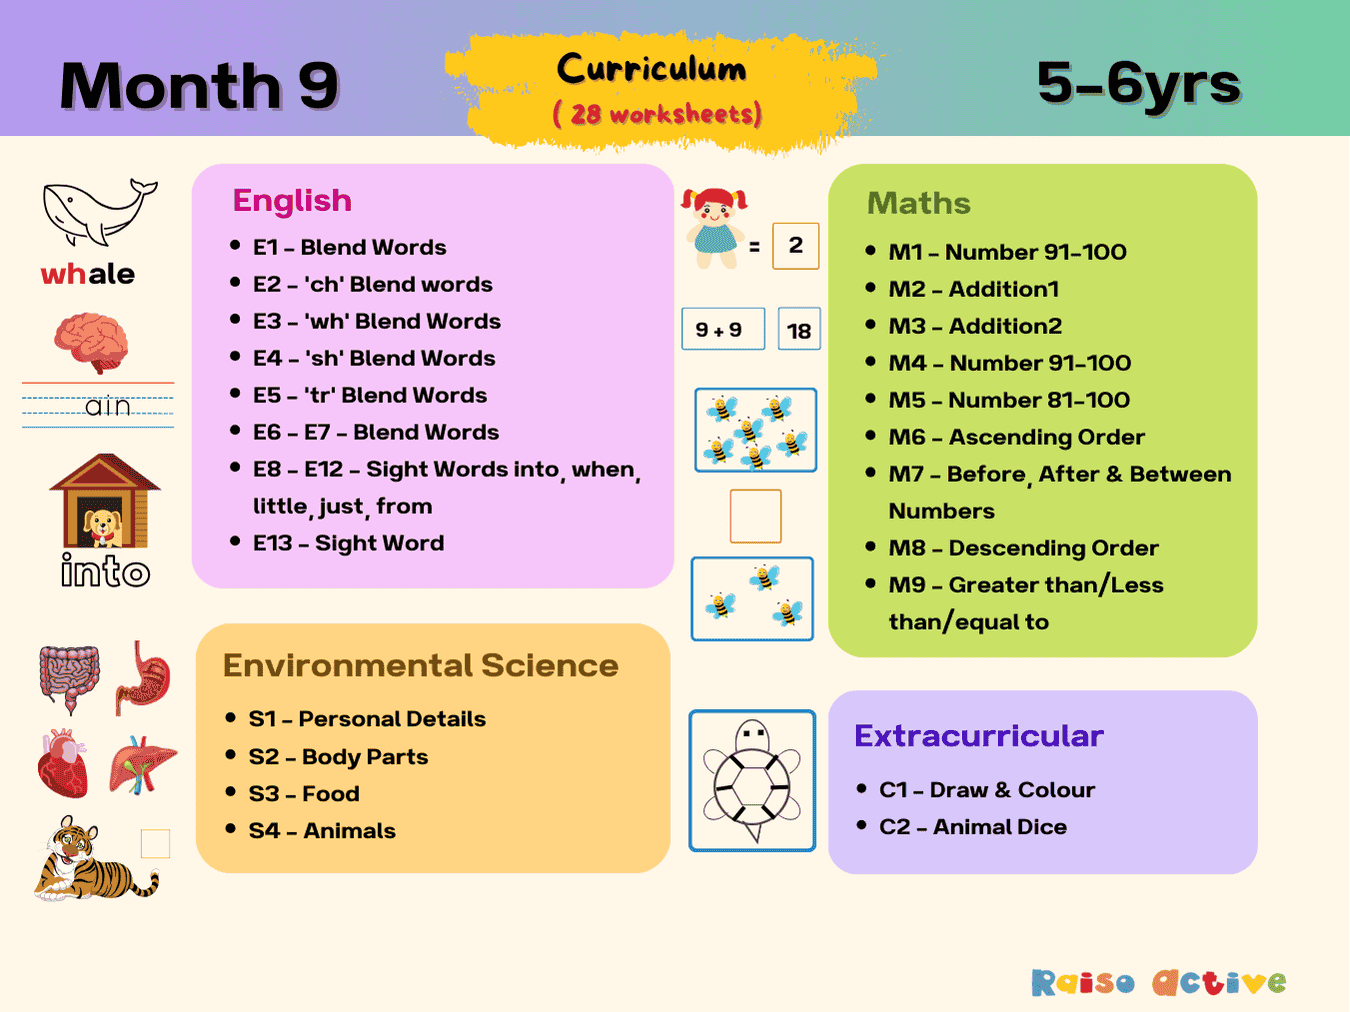
Month 9: Early Learning English Math Science | Ages 5-6
Ages 5-6 · KindergartenAges 5-6 · Year 1Ages 5-6 · UKGAges 5-6 · 31 pages
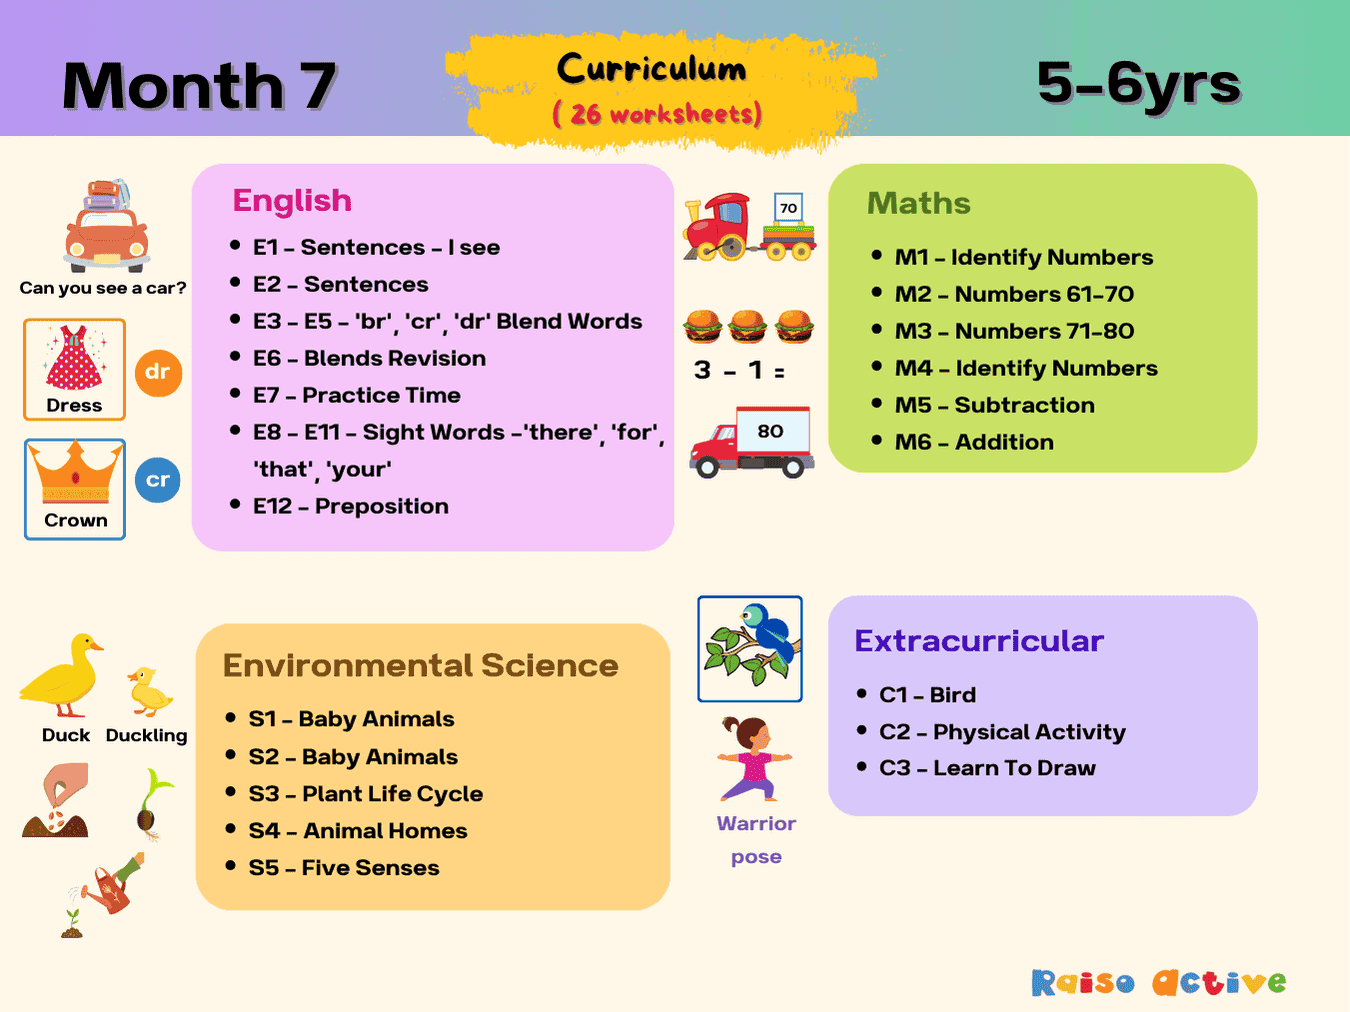
Month 7: Holistic Kindergarten Curriculum | Ages 5-6
Ages 5-6 · KindergartenAges 5-6 · Year 1Ages 5-6 · UKGAges 5-6 · 29 pages